 [1] [1] |
Follow @BuildersFan |
The nautical theme is very popular, even amongst the city folk and this week on Home Made Easy, we look at ways to create a successful coastal garden. Ryan makes a decorative sailor’s mast and Elle gives a bedroom a chic nautical theme by painting some wooden oars.
Part 1 – Gardening (Tanya)
Coastal Gardening [6]
When it comes to coastal gardens, we often struggle with soil that is less than ideal. Sandy soil that lack humic content, doesn’t absorb water well and can be the downfall to an otherwise successful coastal garden.
To fix sandy soil and give it a dark organic composition, you’ll need the following:
– Water-wise crystals
– Bone meal
– Organic slow release fertilizer
– Coconut husk / Palm peat
– Compost
- Start by sprinkling some waterwise crystals. Be sure to read the product instructions as you really don’t need a lot.
- Add about 2 hands of bone meal per square meter of soil.
- Add a layer of coconut husk/palm peat. This also aids in retaining water in the soil.
- Add a full layer of compost and turn it all into the soil.
Signs of coastal-friendly plants:
– Thick fleshy leaves
– Grey leaves
– Hairy leaves
Coastal-friendly plants:
- Agapanthus
- Gazania
- Euriops (indigenous daisy)
- Pelargonium/Geranium
- Vygies / succulents / Echeveria / Sedum / Plectranthus
Watch the video [6]
Part 2 – Workshop (Ryan)
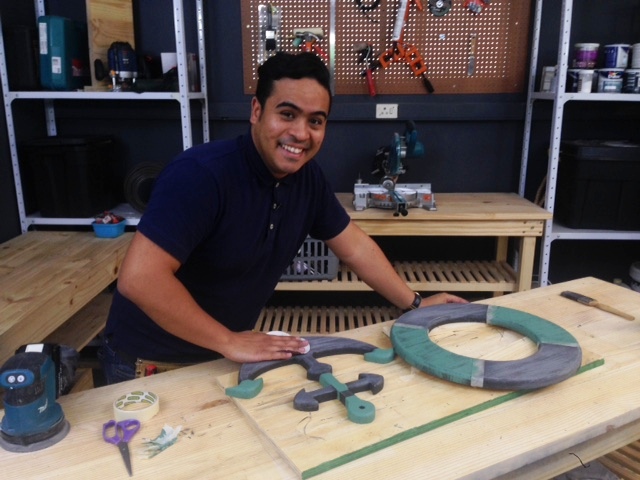
Decorative wooden Sailor Mast [6]
 [7]
[7]
Materials |
Tools |
| Wood: Pine / 20mm | Jig saw |
| Cardboard | Glue gun |
| Rope: 7mm | Staple gun |
| Paint: Dark grey, light grey, cream, blue / turquoise | |
| Glue sticks | |
Steps
- Use a cardboard template to shape the anchor centrepiece onto the desired choice of wood.
- To determine the right size for the circular mast, use the anchor as a reference and make the inner diameter slightly smaller than the anchor itself.
- Sand the mast and anchor using medium to fine sandpaper.
- As an optional step, router the edges of both mast and anchor to create a more detailed professional look.
- When painting, use a 3 colour paint effect; namely dark grey, light grey and cream.
- Divide the mast in 4 quarter and tape off the top and bottom.
- Apply the 3 colours of paint from dark to light, ensuring to sand in between each coat once it is dry.
- Apply each colour avoiding full coverage as the sanding should reveal the previous darker colour
- For the left and right quarter of the mast; apply a contrasting colour or stain of your choice; e.g. blue or turquoise.
- Repeat the same colour combination to the anchor to match the mast
- Using a hot glue gun, secure 1 line of the rope to the perimeter of the mast except for the top quarter which will be used as a hanger (ensure sufficient slack of 20-30cm).
- Where the two paint colours meet, wrap the rope around the mast to conceal the paint and secure using a hot glue gun.
- Once all the rope has been secured, mount the anchor to the mast using wood glue and screws (preferably from the back in order to conceal the screw heads).
- Mount in the desired room and enjoy.
Watch the video [6]
Part 3 – Décor (Elle)
Decorative Wooden Oars [6]

 [8]
[8]
Making decorative wooden oars is a fun and easy way to bring a touch of nautical to your interior…
You will need
| Materials | Tools |
| 2 x Pine slats | Speed square |
| Painters tape | Pencil |
| Chalk paint ( blue, white, cream) | Measuring tape |
| Wood stain (Mahogany / imbuia) | Sander |
| Wood glue | Jigsaw |
| Power Drill | |
| Clamps | |
Steps:
- Determine the length of the DIY faux oars, and cut the pine timber to size using a jigsaw. For this project the wood was cut in half, just less than 1 meter in length, for each oar.
- Take the slightly wider wood and determine what the length of the bottom part of the paddle/oar should be. This needs to look like a real paddle, so the bottom part needs to be in proportion, a good measurement is around 300mm. Four pieces will need to be cut for two paddles. Make a marking and with the use of a speed square draw a line at a 45 degree angle on each length, this helps add to the oar/paddle “shape” of the project.
- Lay out your 3 pieces of wood that make up 1 x oar. The long 1m (thinner) piece of wood as the handle and “spine” of the Paddle and the 2 x 300mm pieces of wider wood cut at a 45 degree angle at one side only using the jigsaw.Lay these two pieces of wood on either side of the “spine” with the straight ends in line and flush with the bottom of the spine. This gives the oar shape.Once happy with the alignment add wood glue and clamp tightly together until wood glue is fully dry.
- Now that the shape of the oars is secure with wood glue, sand the edges and surface down with a sander, to prepare the surface for wood stain.
- Wipe down the sanded surface and stain the oars in a tinted wood sealant. For this project a dark wood stain was used. Allow to dry.
- Once the wood stain is dry, the oars are ready to be decorated and painted with some colour lines to add that nautical/ paddle/ boat house look. Mask out vertical lines of different thicknesses, on the paddle part of the oar and at the other end of the “handle” part.Use different colours for each vertical line and coordinate the colours so that each paddle looks similar, like a pair. Use chalk paint in various nautical inspired shades. Once the paint has dried, remove the painters tape.For that extra “worn in” or “distressed” look, grab some sand paper and sand some of the chalk paint lines, surface and edges of the oar, so that they don’t look brand new. Attach the DIY oars to the wall.
Watch the video [6]
Part 4 – Décor Tips
Decorative wooden Sailor Mast [6]
Creating a nautical inspired picnic is fun and easy, so choose your seaside inspired tones and create a welcoming setting for friends and family.
All-round creative, Matanna Katz, shares her take on a nautical inspired picnic.
 [9]
[9] 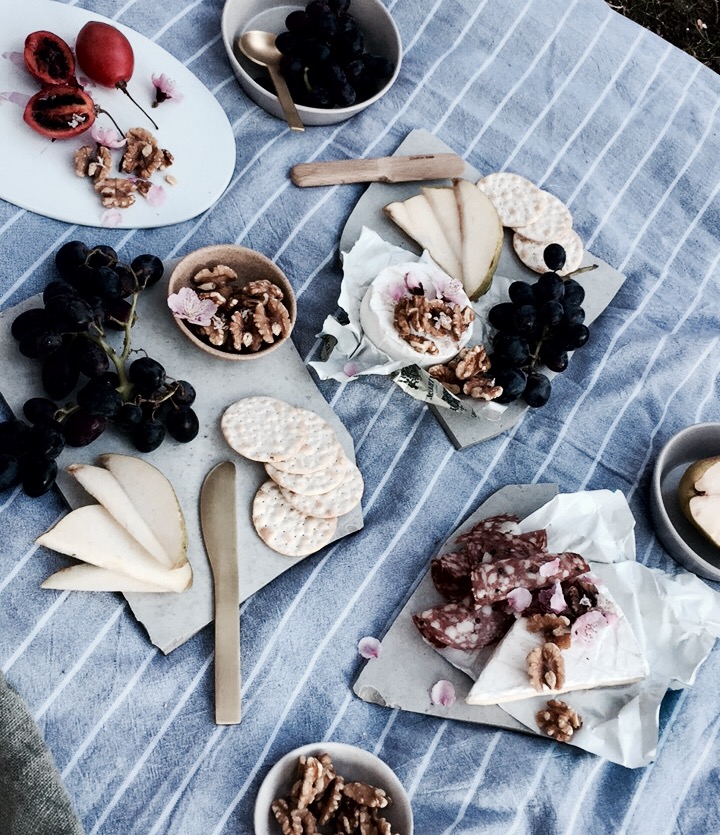 [10]
[10] 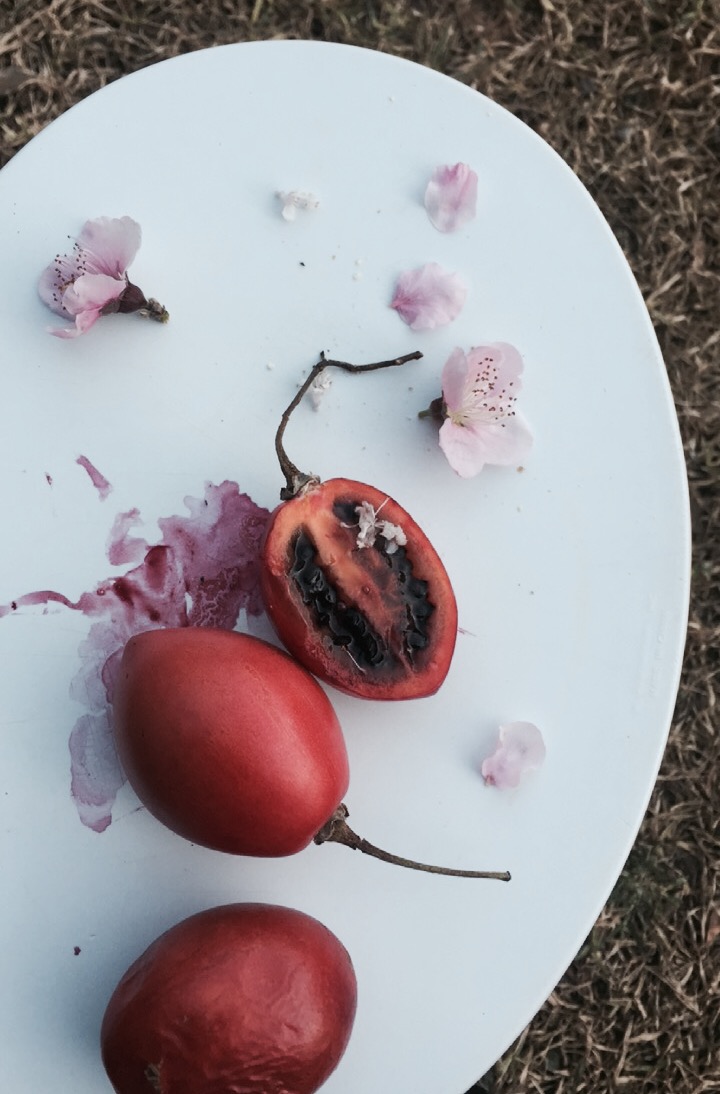 [11]
[11]
Special thanks to
Matanna Katz
http://www.etherealboundjournal.com [12]
http://www.matannakatz.com [13]
Turkish towels for nautical inspired picnic from Summah
www.summah.co [14]
 [14]
[14]
Watch the video [6]