In episode 3 of Home Made Easy we take things down to ground level… Pathways, stepping blocks and painted rugs…
Part 1 – Gardening
Walkways or pathways play a crucial role when it comes to guiding you and your guests around your home. When it is time to select what you will be walking on, the options are abundant:
- Lawn
- Paving blocks
- Slate
- Gravel
- Bricks
- Concrete
Tanya’s favourite walkway plants: [1]
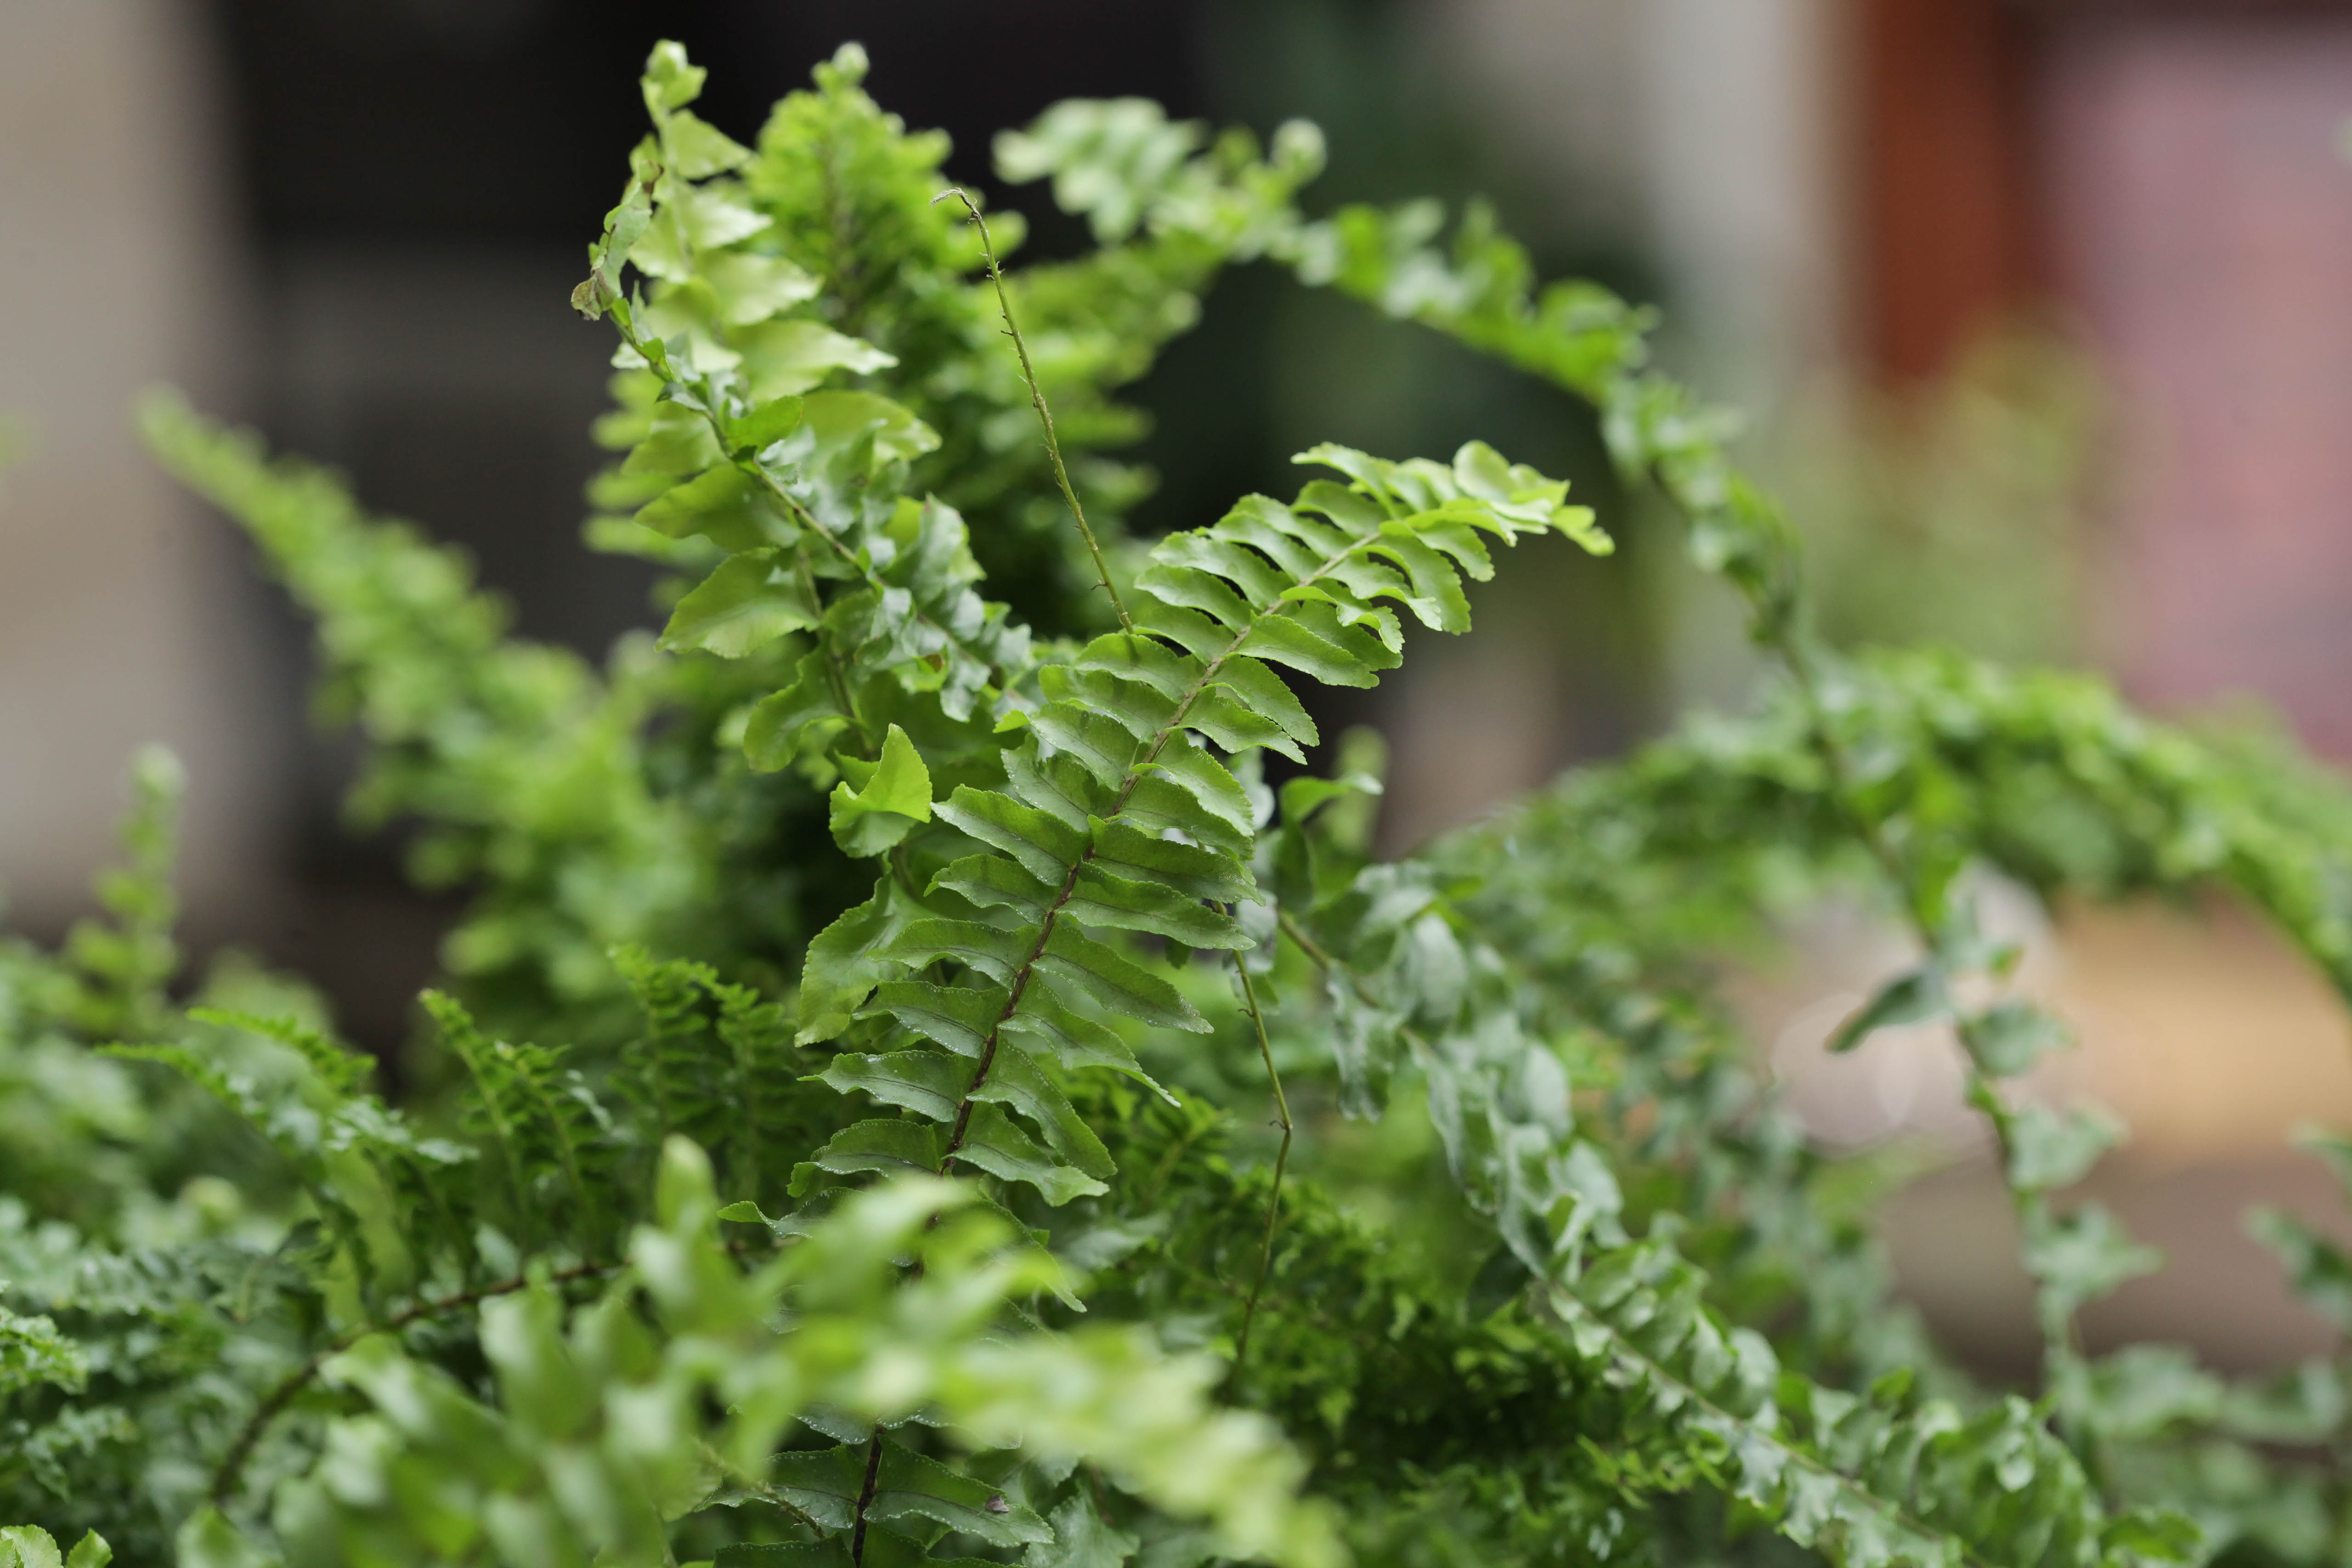 [2] [2]Ferns |
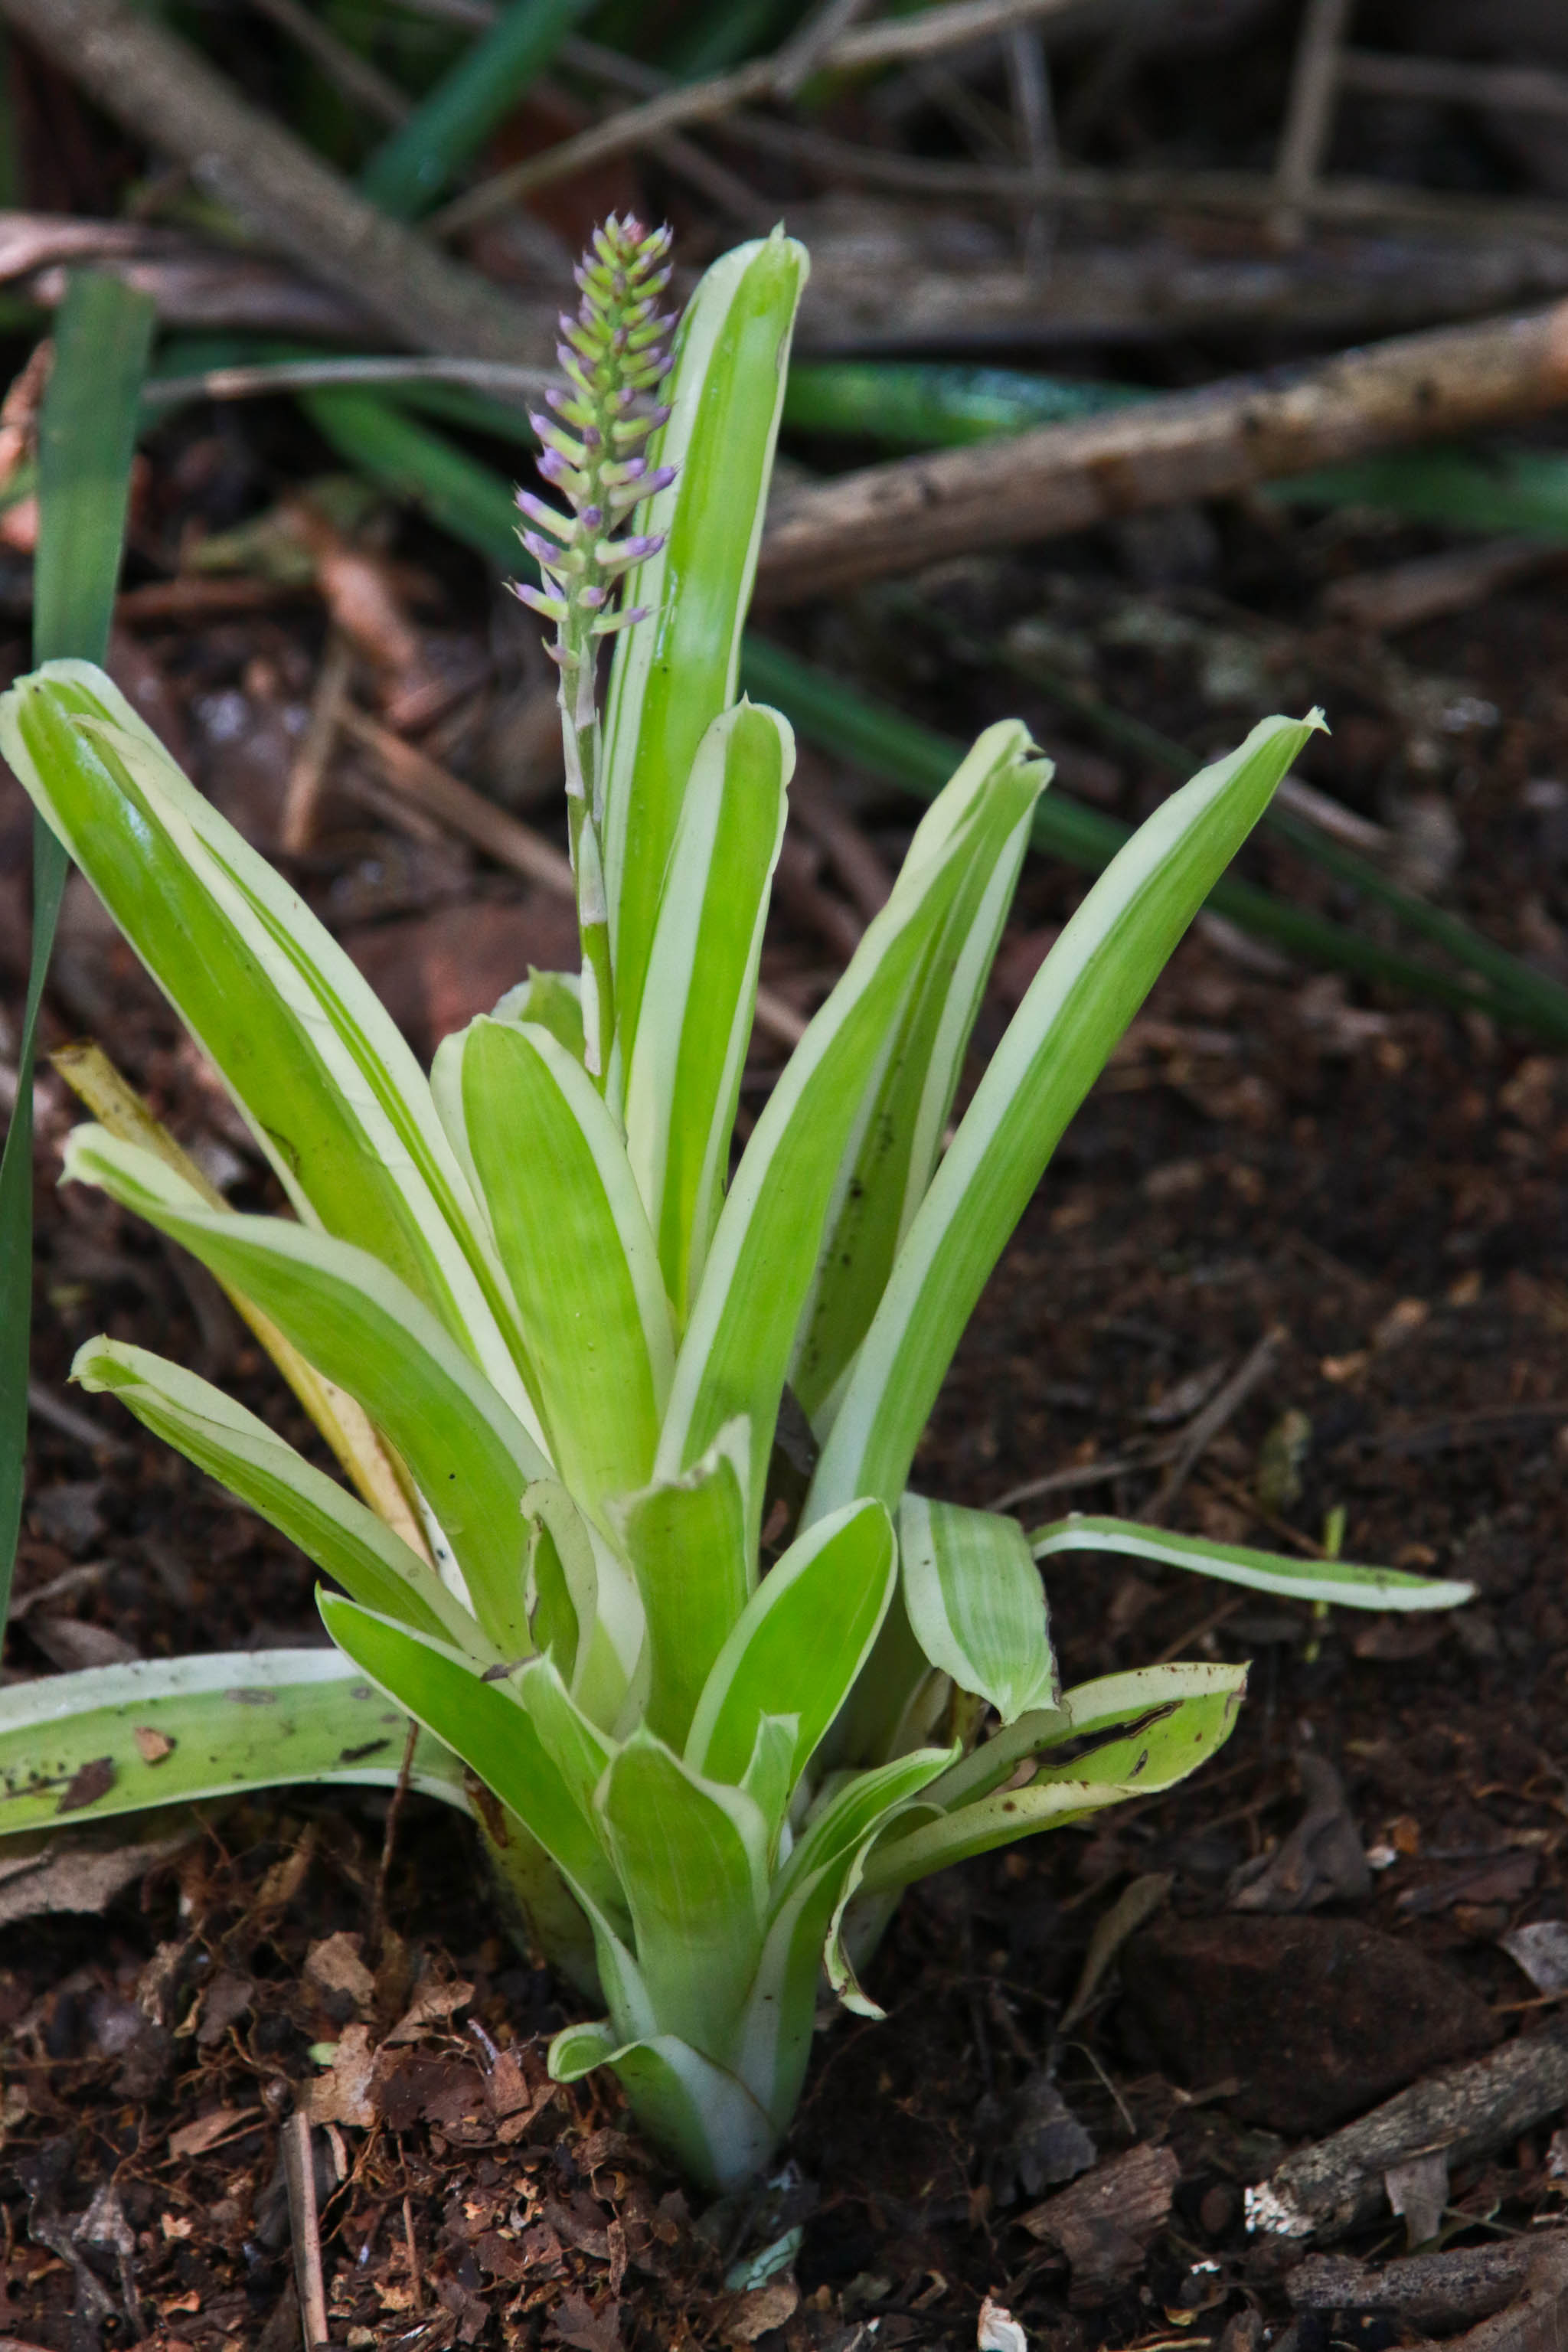 [3] [3]Bromeliad |
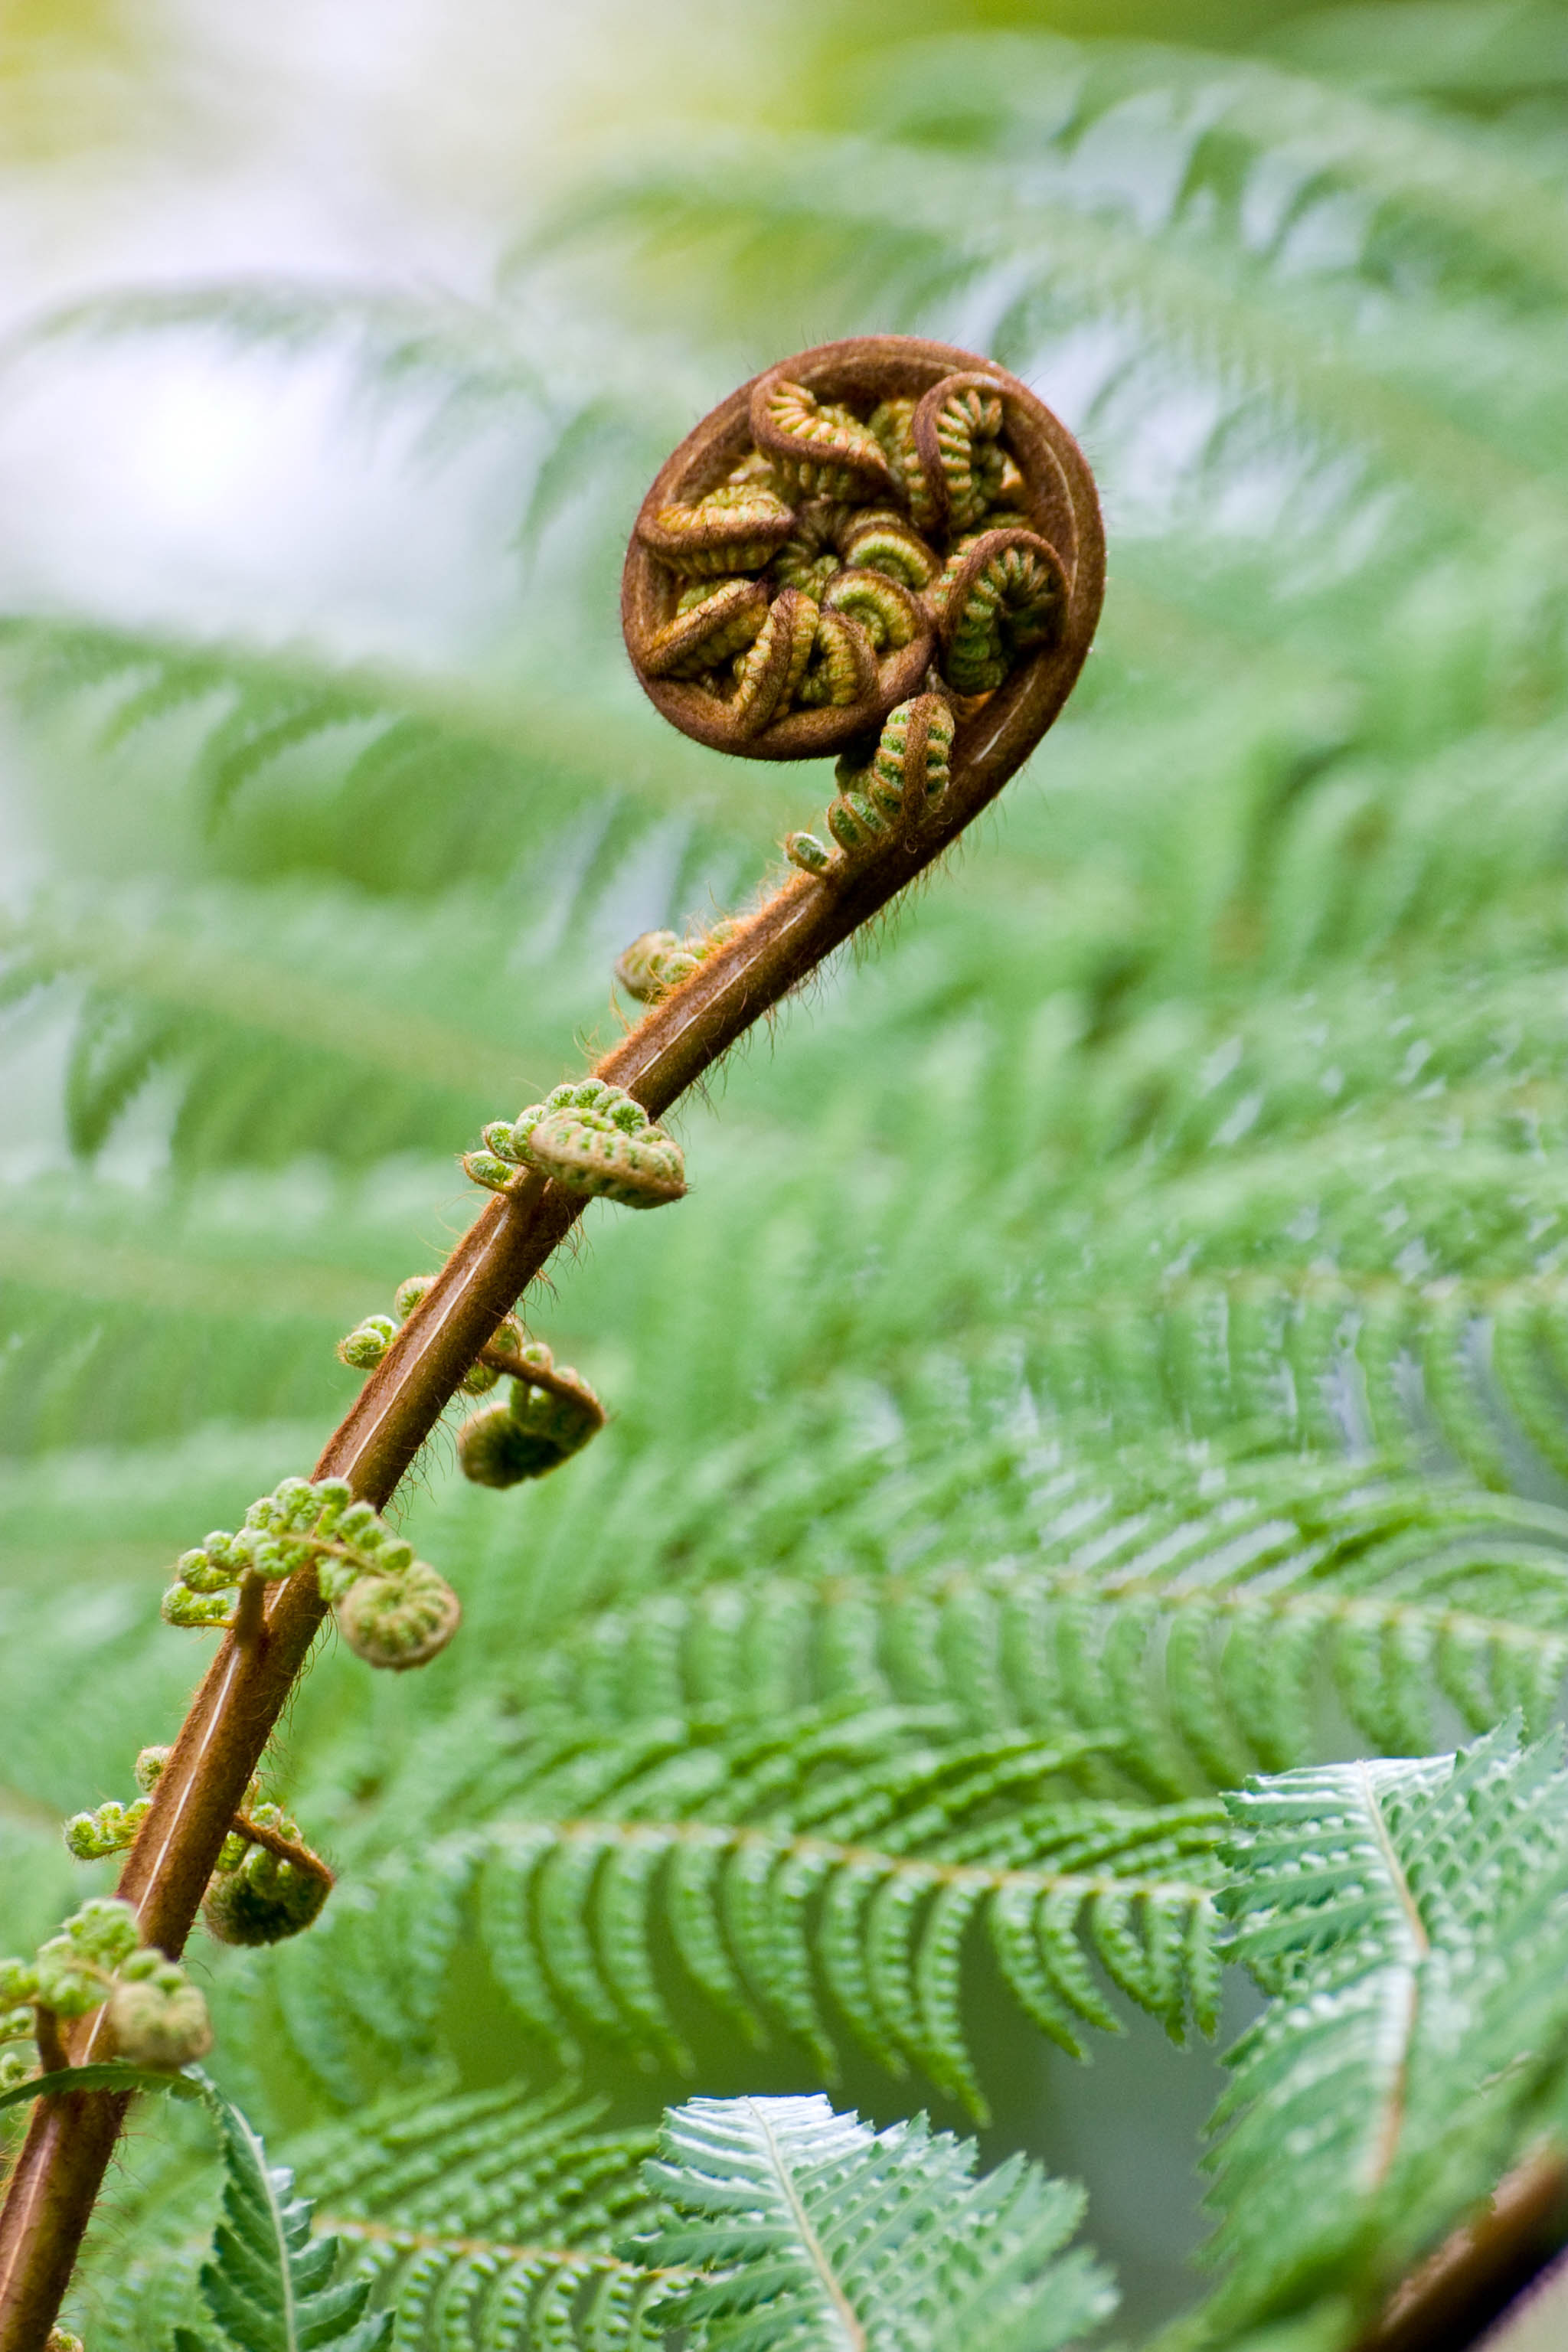 [4] [4]Ferns |
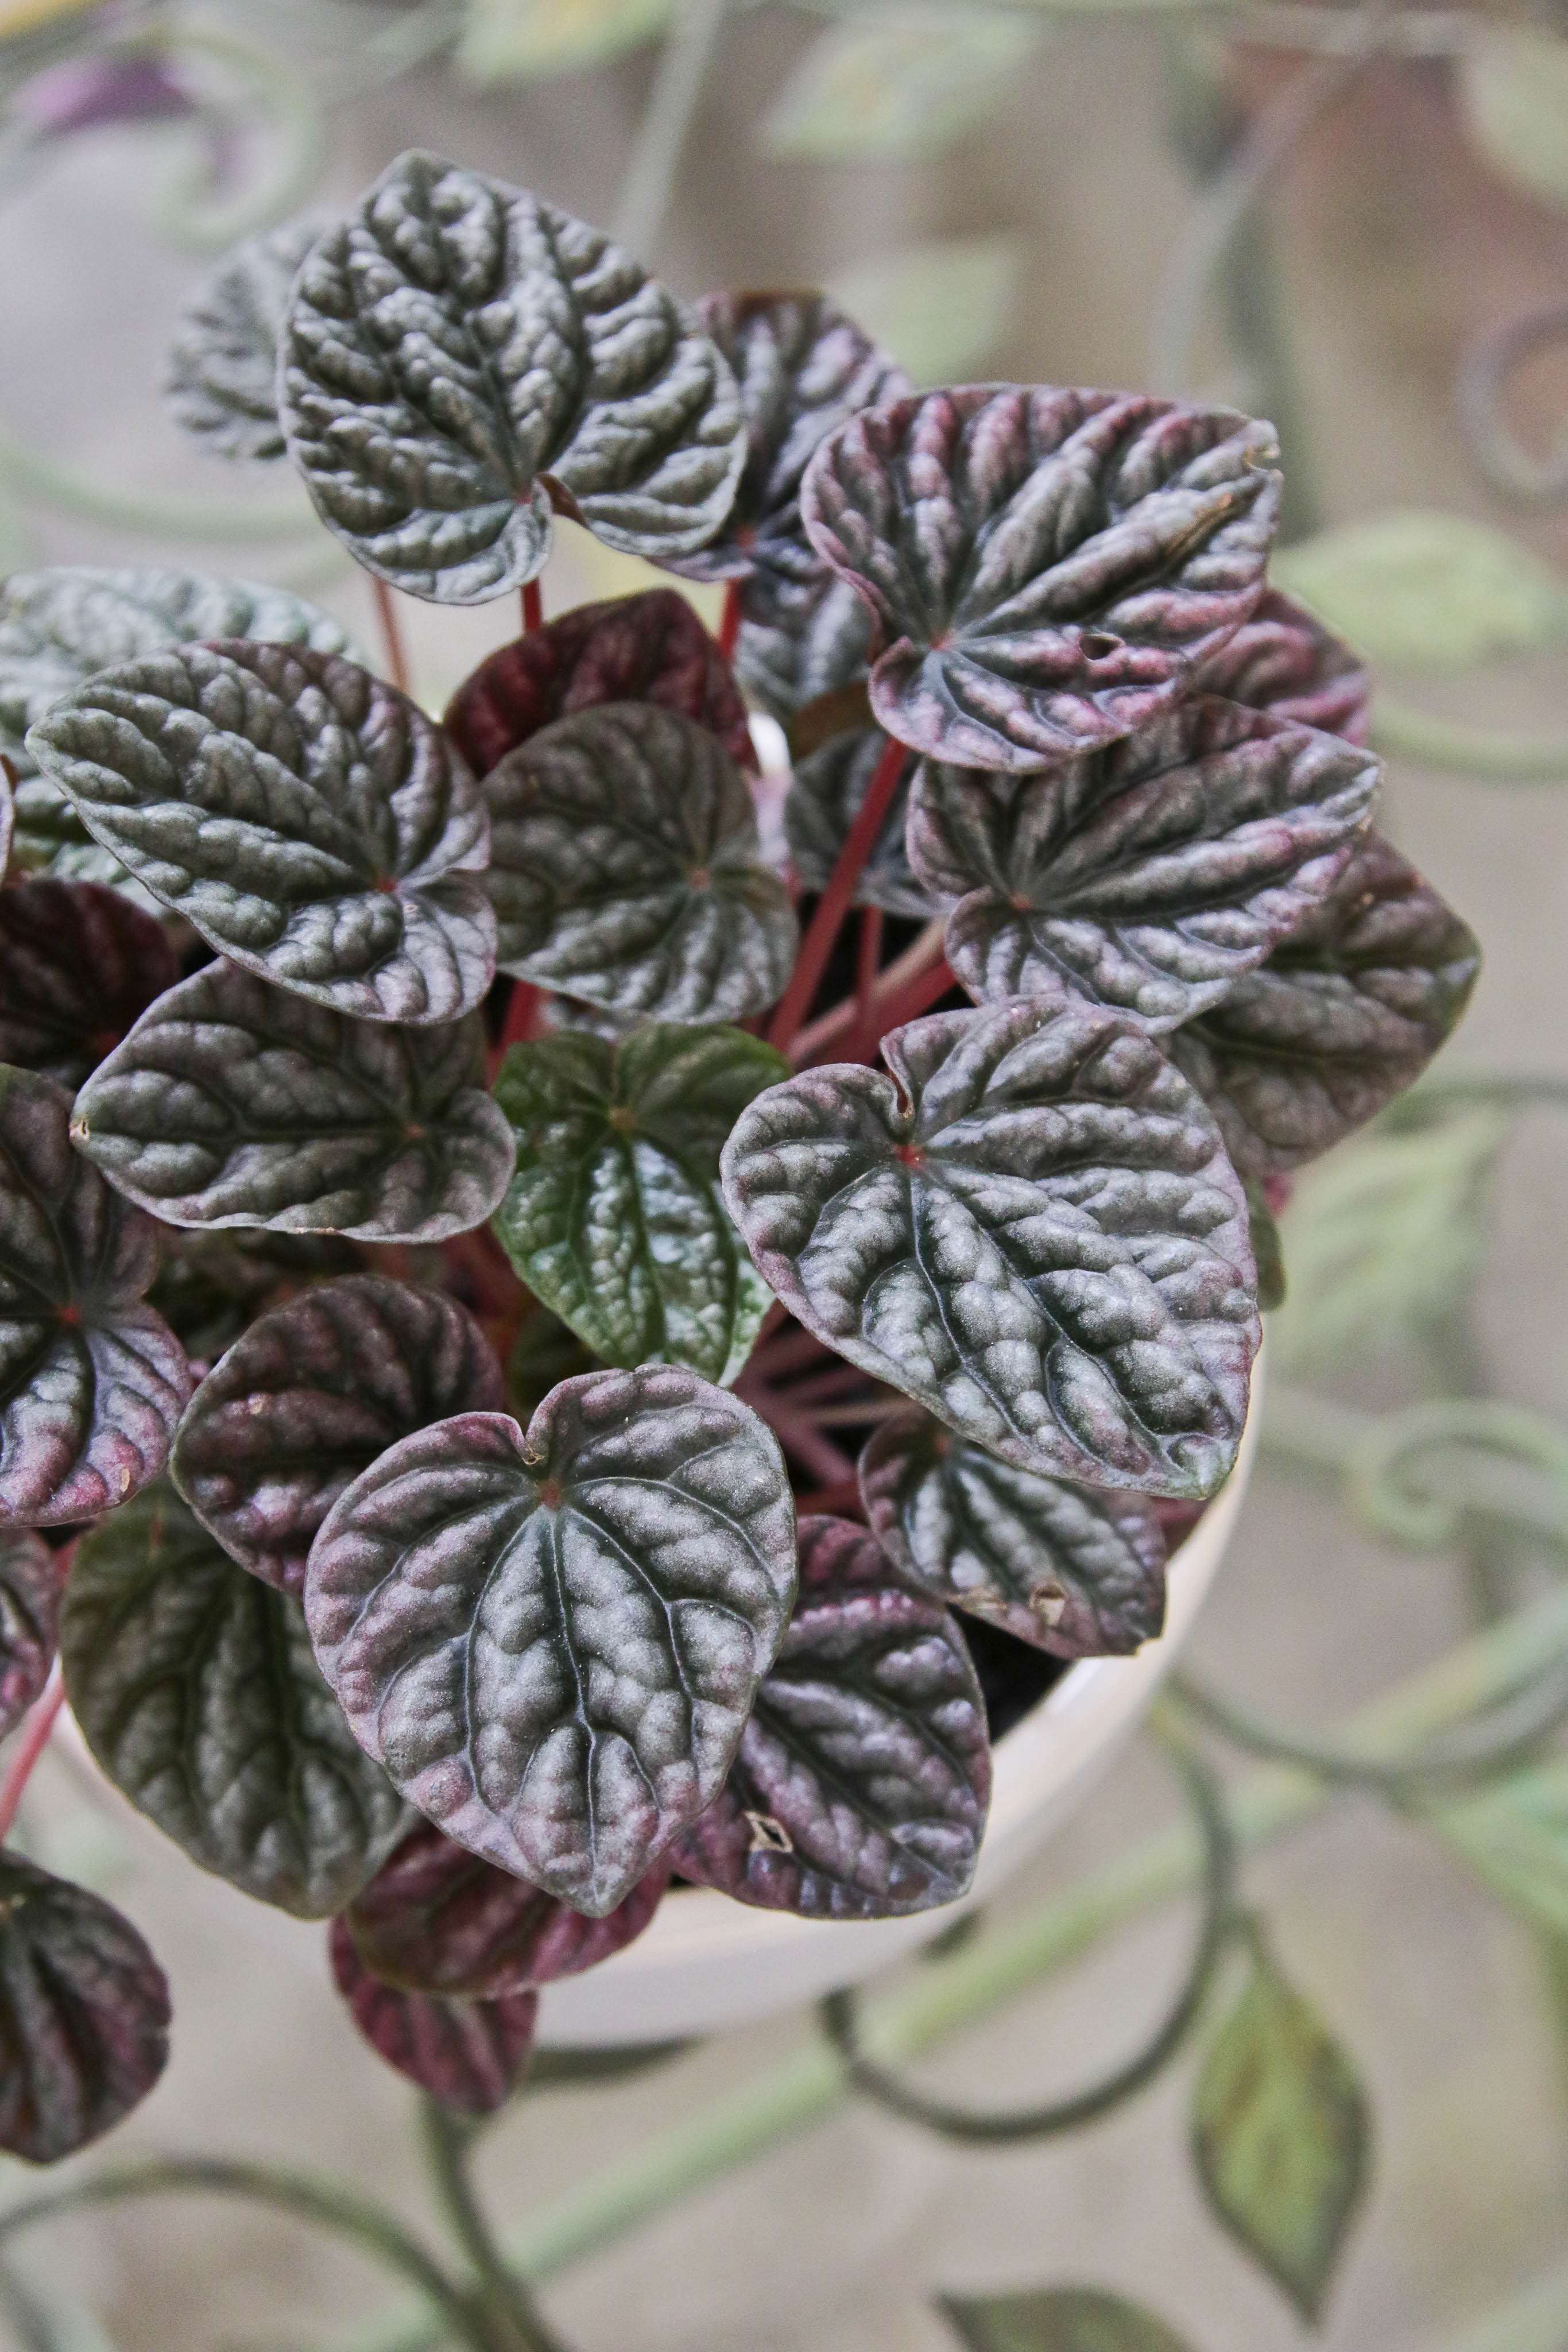 [5] [5]Peperomias |
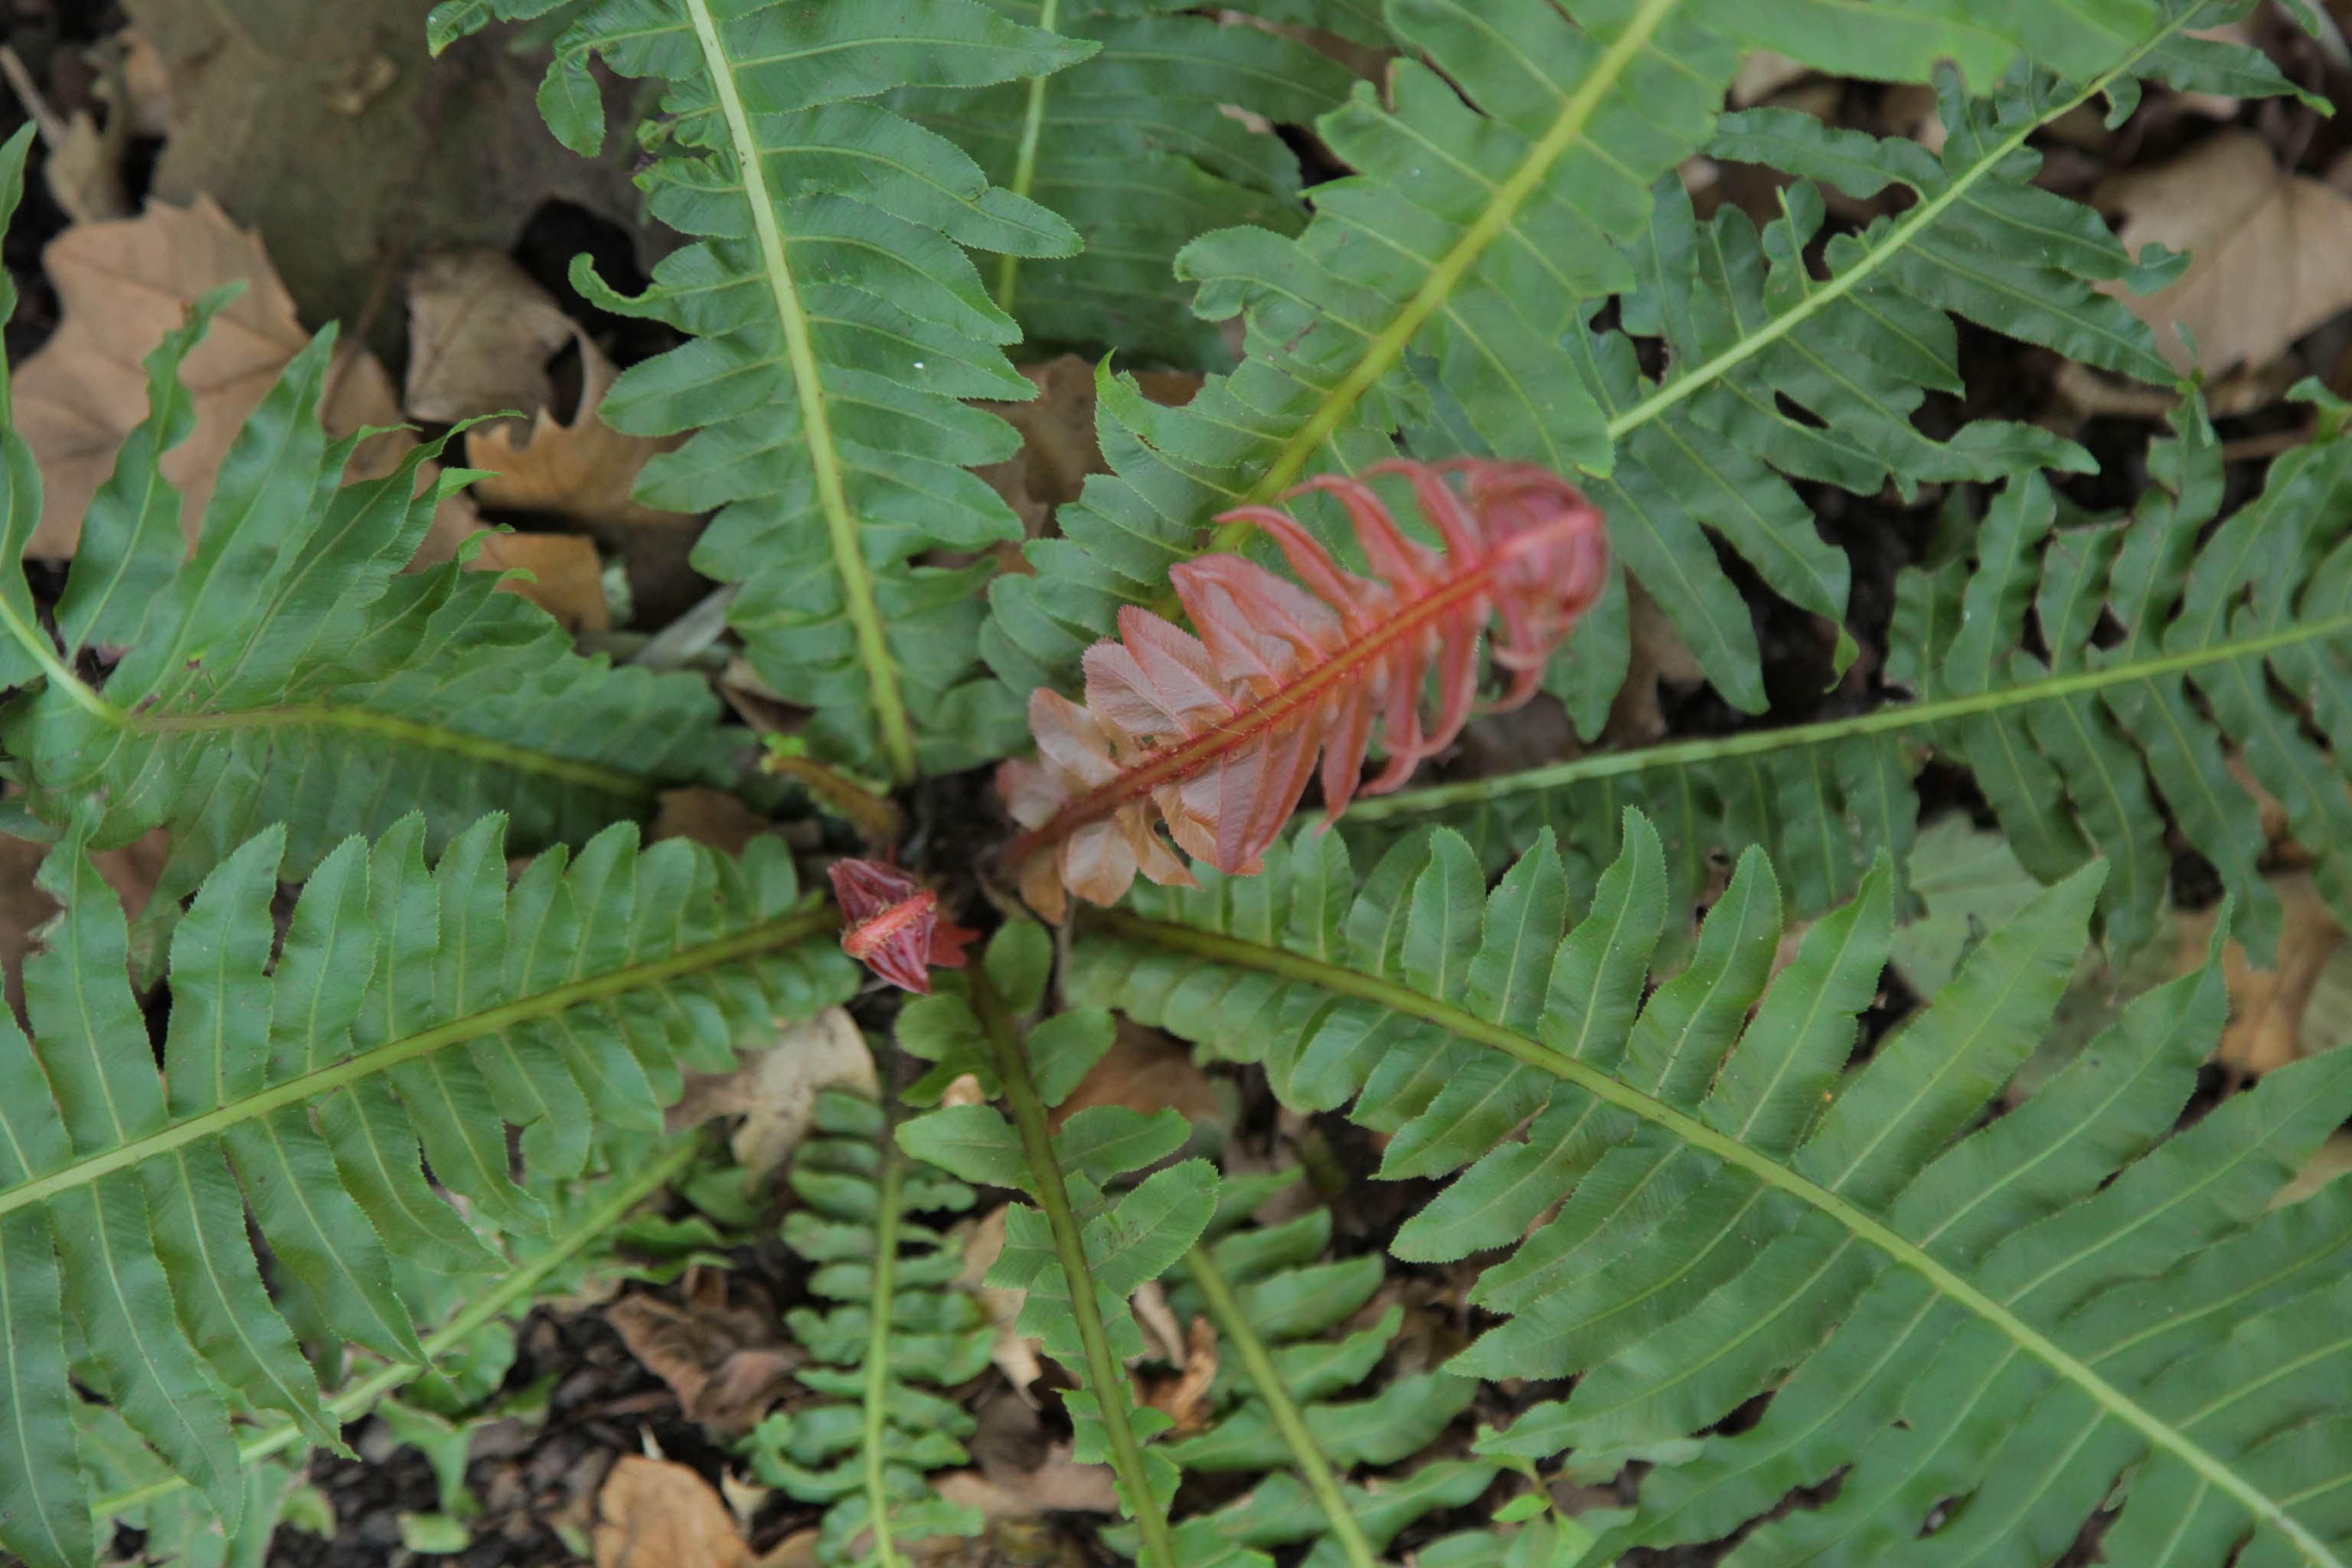 [6] [6]Blechnum gibbum |
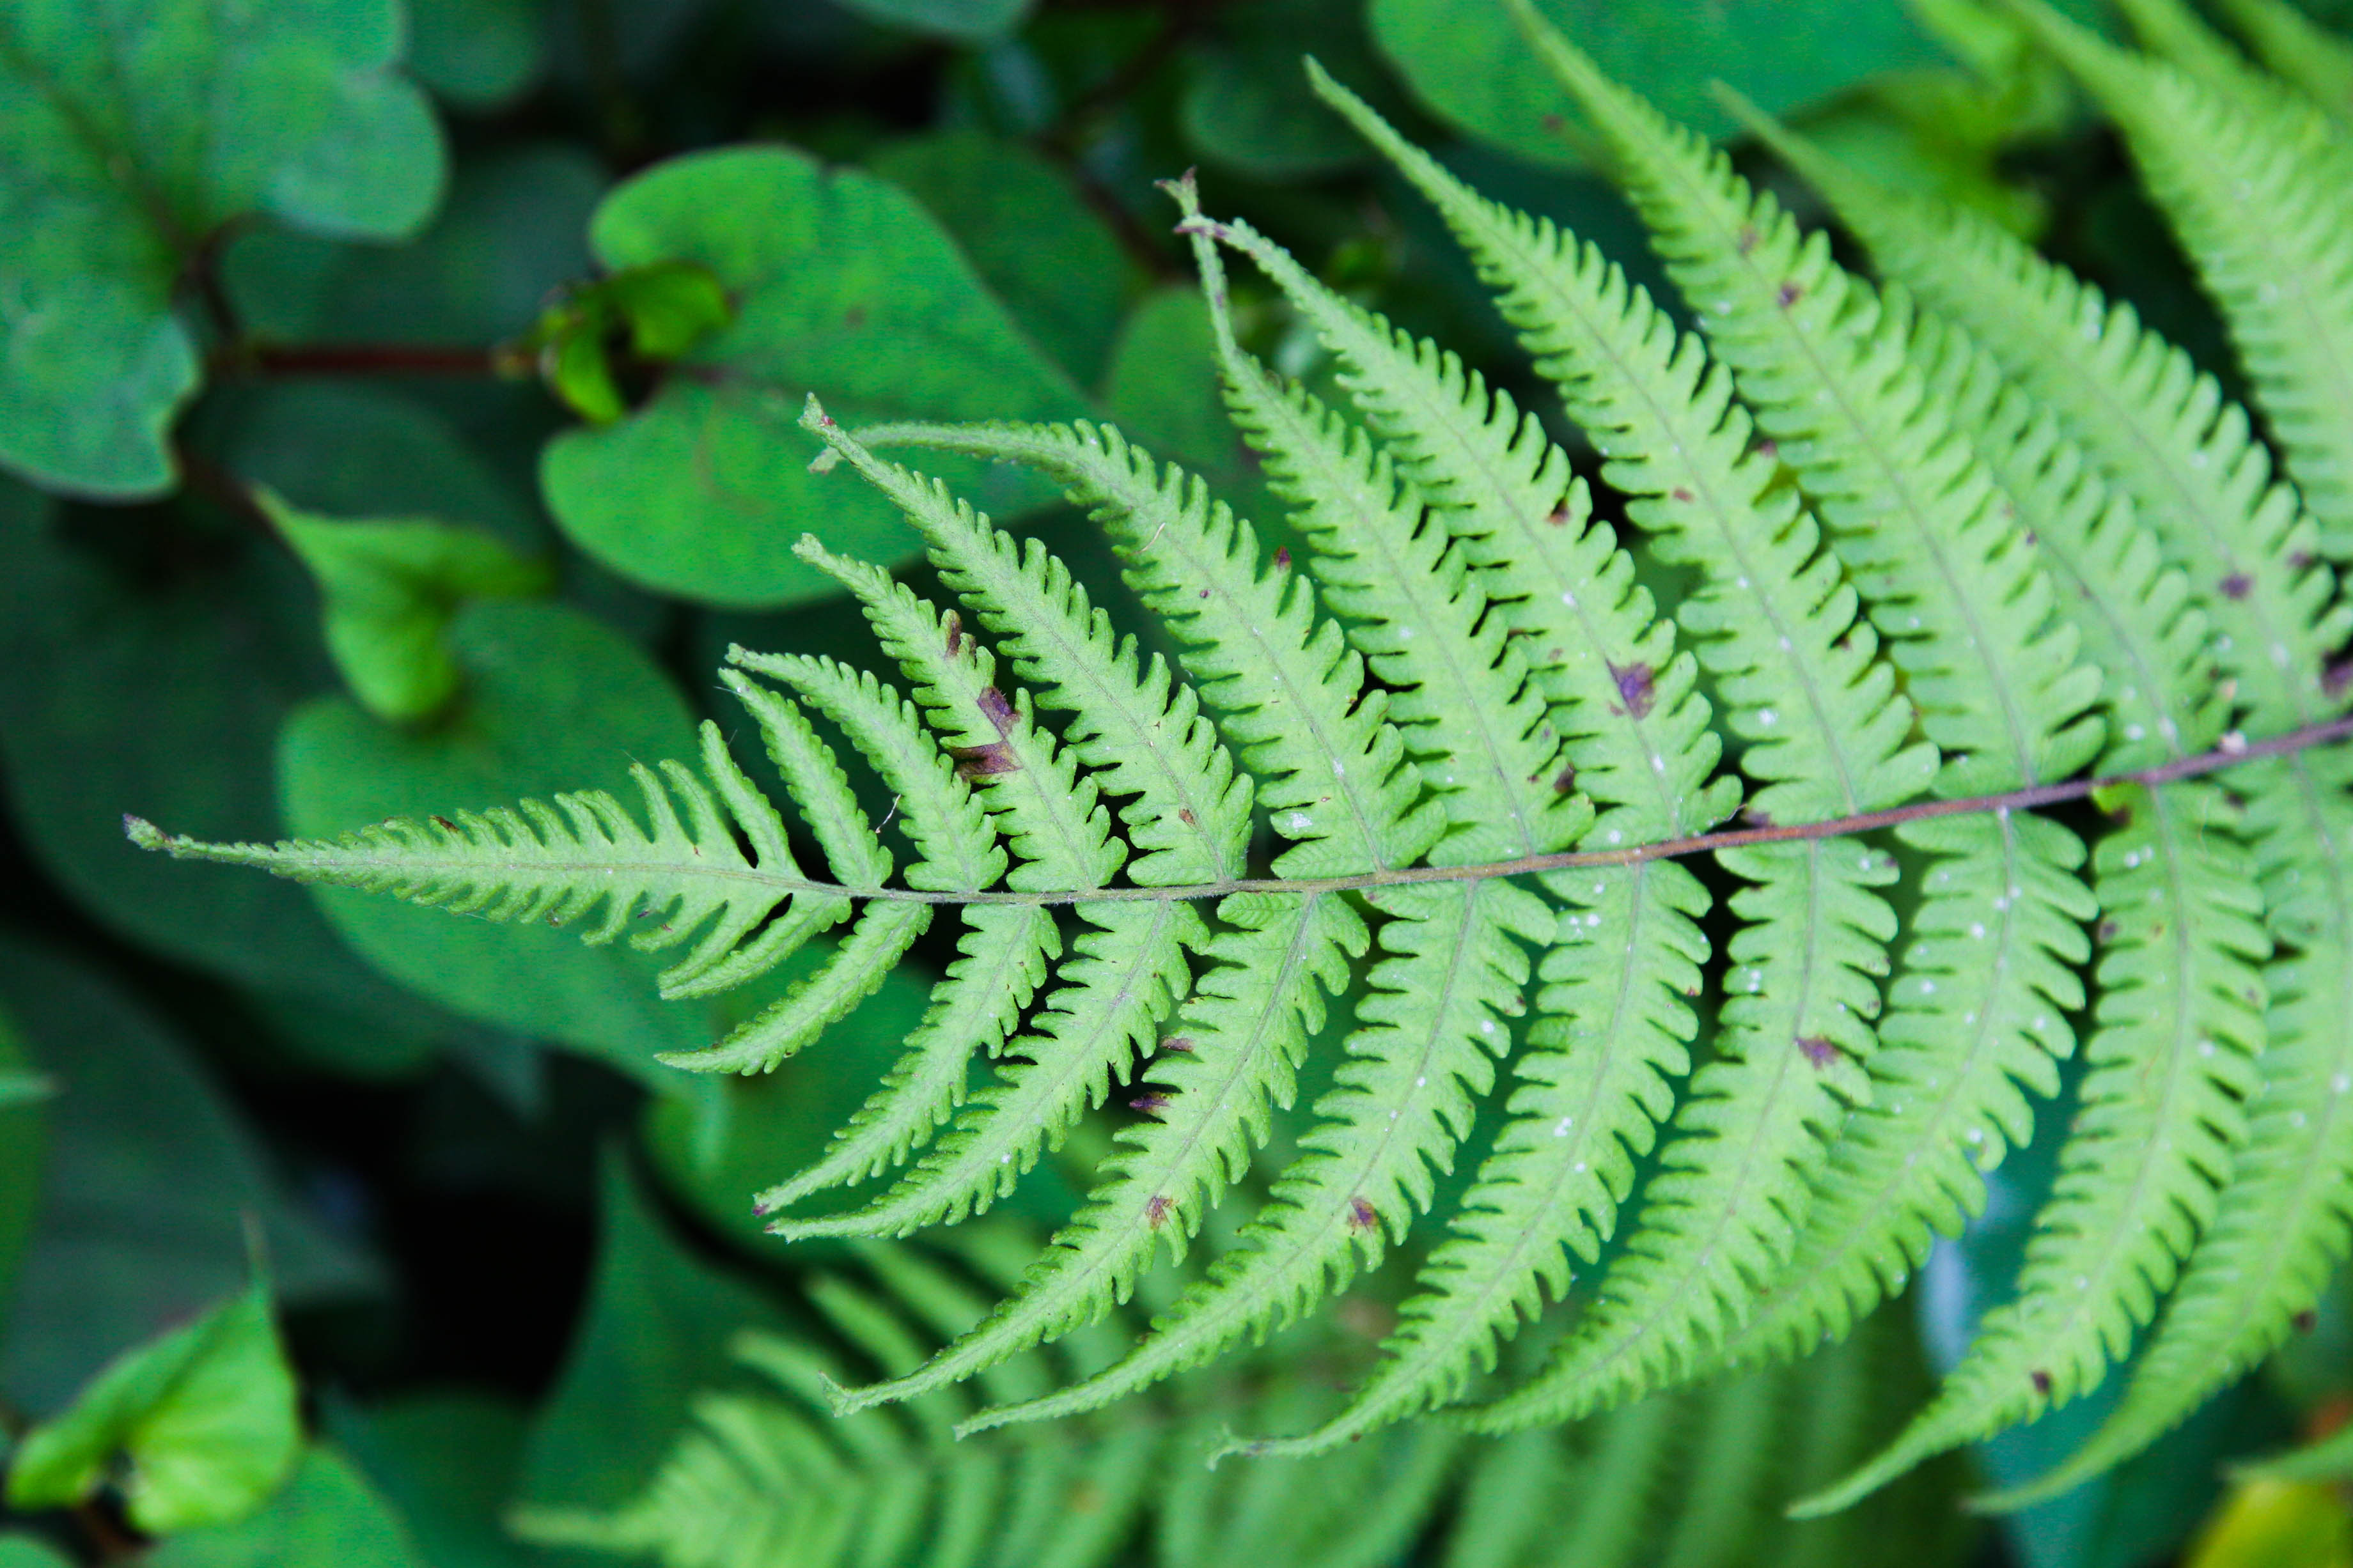 [7] [7]Ferns |
Interesting things to plant between stepping blocks:
- Mondo Grass (“Kyoto Dwarf”)
- Herbs
Tanya’s forgotten walkway revamp [1]
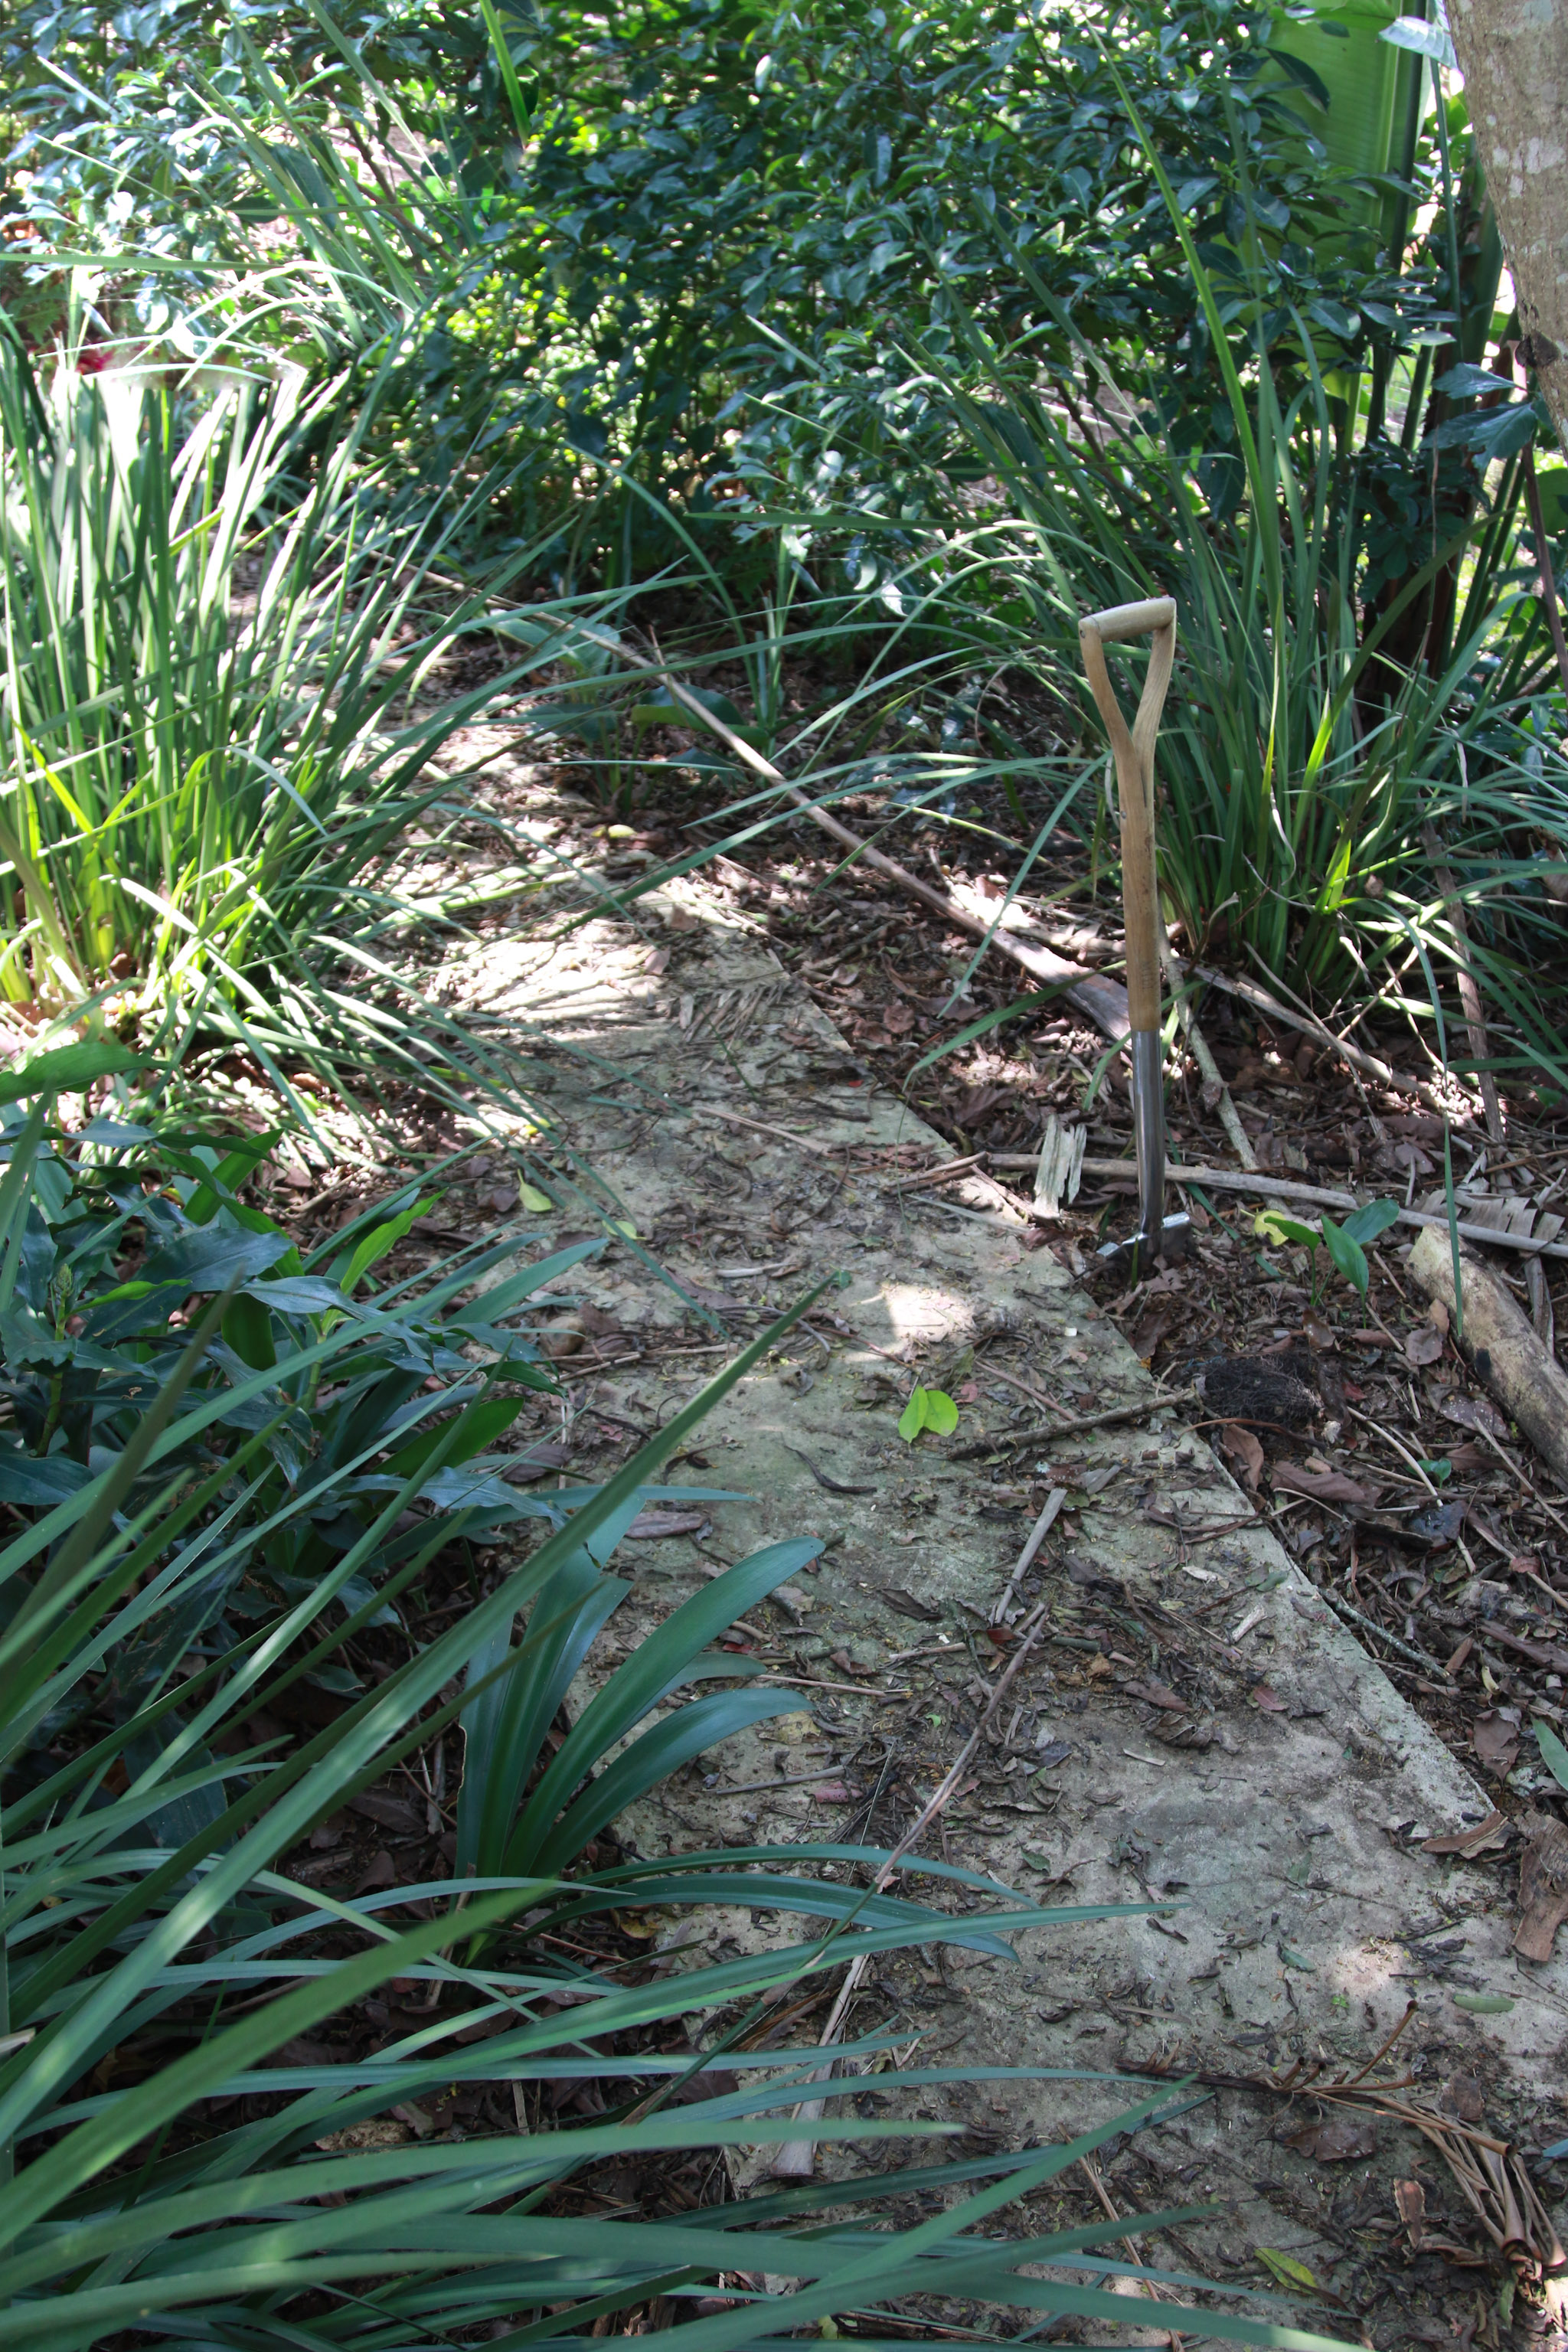 [8] [8]Walkway Before |
 [9] [9]Walkway After |
Materials |
Steps |
|
|
Watch the video [1]
Part 2 – DIY
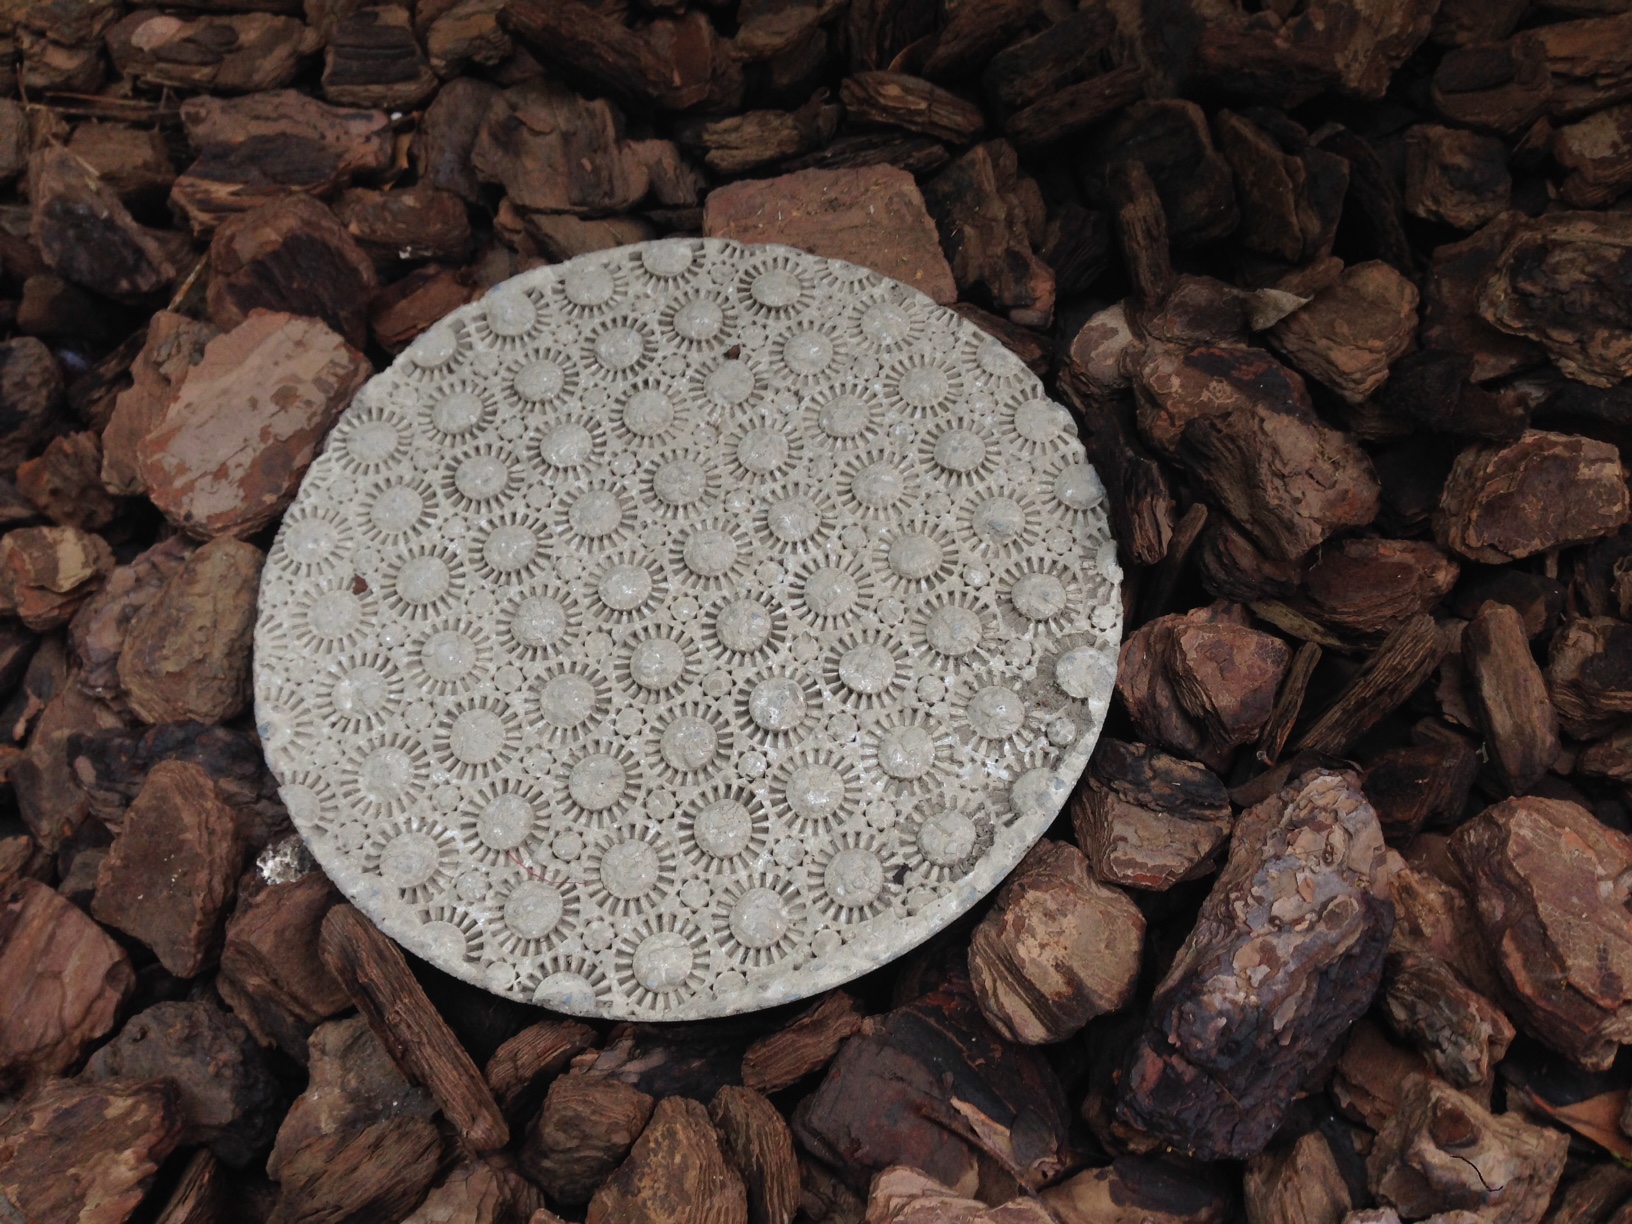
If you are looking to add a personal touch to your outdoor pathways, creating your own custom designed concrete stepping blocks is a must.
Custom Designed Stepping Blocks [1]
 [10]
[10]  [11]
[11]
Materials
- Rubber mats
- Plastic or metal bowl
- Non-stick agent
- Trowel
- Rapid set cement
- Water
- Protective gear (goggles, gloves and a mask)
- Scissors or cutters
Steps:
- Place the rubber mat over the mould that you will be using (plastic or metal bowl), and draw out where you will be cutting, using a piece of chalk.
- Cut out the piece of rubber mat that will be used as your imprint.
- Use the non-stick spray on both the mould and the rubber mat.
- Mix the rapid set cement as per product instructions.
- Scoop the cement mixture into your mould.
- Place the rubber mat cut-out on top of the cement and lightly press to allow the pattern to transfer onto the cement.
- Leave the cement to cure for the indicated time period.
- Once the cement has cured, simply remove the rubber mat to reveal your custom designed stepping block.
- Remove the cement block from the mould and use a medium grit sand paper to remove any sharp or uneven edges.
Watch the video [1]
Part 3 – Décor
If you thought chalk paint was only suitable for walls and furniture, then prepare to make a mind shift, as it can also be used to bring
Elle’s Painted rug DIY [1]
 [12] [12] |
 [13] [13] |
 [14] [14] |
Materials
- Rug/Carpet
- Chalk Paint
- Brush / Sponge Roller
- Drop Sheet
- Masking Tape
Steps:
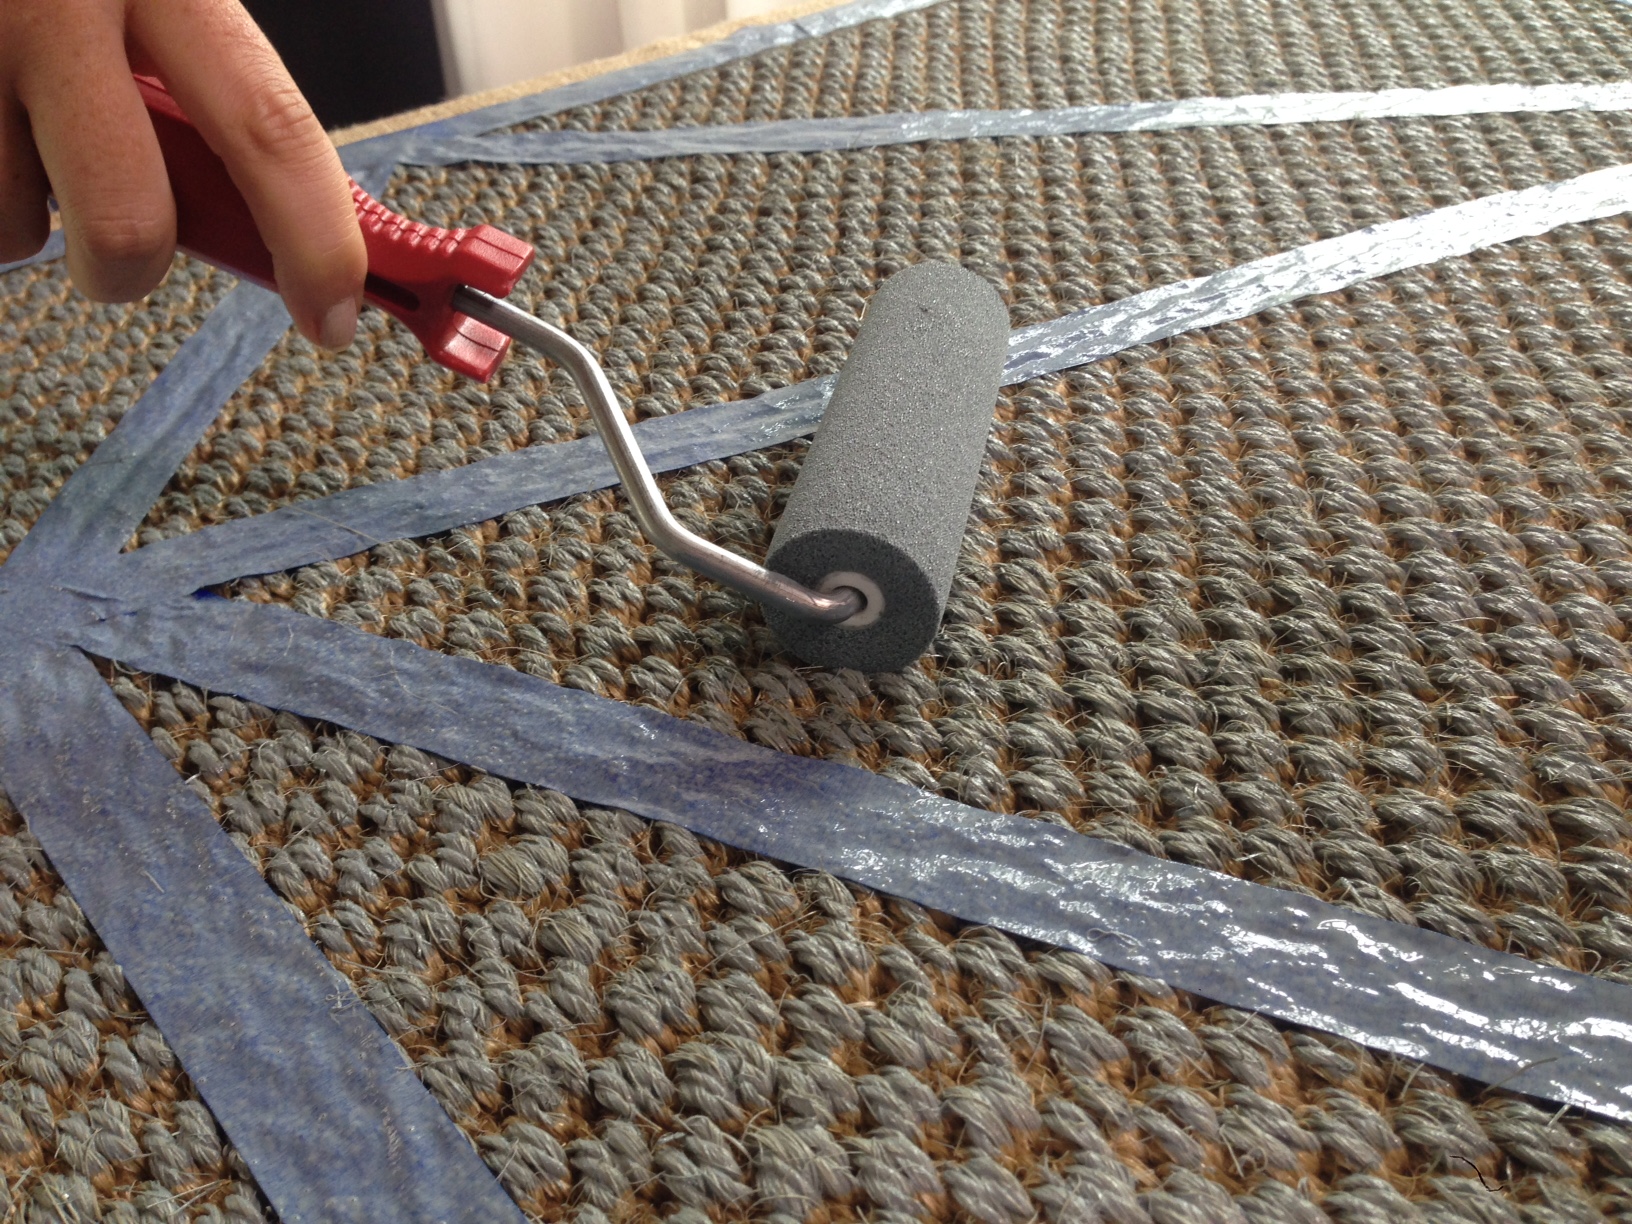
- Start by masking out the sections you DO NOT want painted.
- Once the masking tape is firmly in place, use a paint brush or roller and start applying a light coat of chalk paint. Depending on the look you’re going for, wait a few minutes for the first coat to dry and apply a second coat of paint.
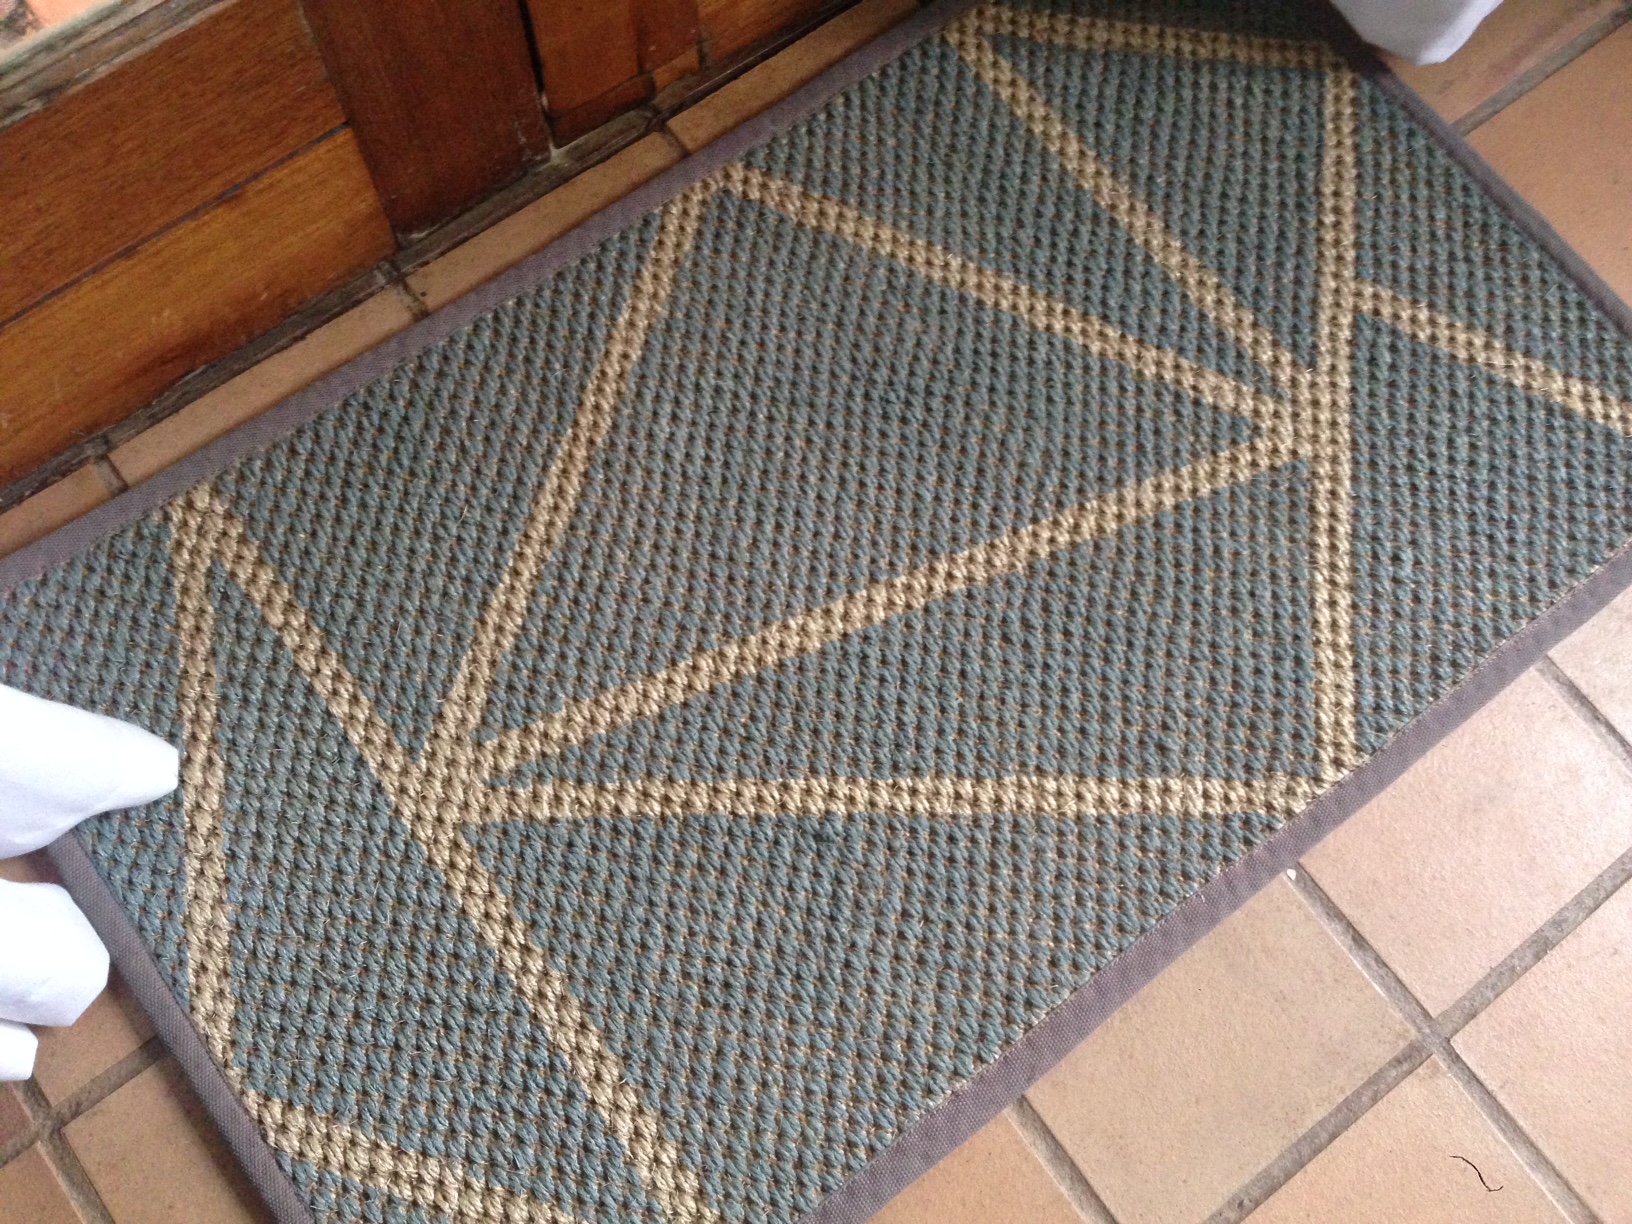
- To add to the longevity of the chalk paint, add a coat of chalk paint wax over the painted sections.
- Remove the masking tape and reveal your striking new carpet/rug!
Stencilled welcome mat: [1]
 [15] [15] |
 [16] [16] |
Materials
- Welcome mat
- Stencils
- Chalk paint
- Masking Tape
- Newspaper
Steps:
- Start by laying out your stencils.
- Secure the stencils in place by using masking tape and cover the areas you don’t want painted with old newspaper.
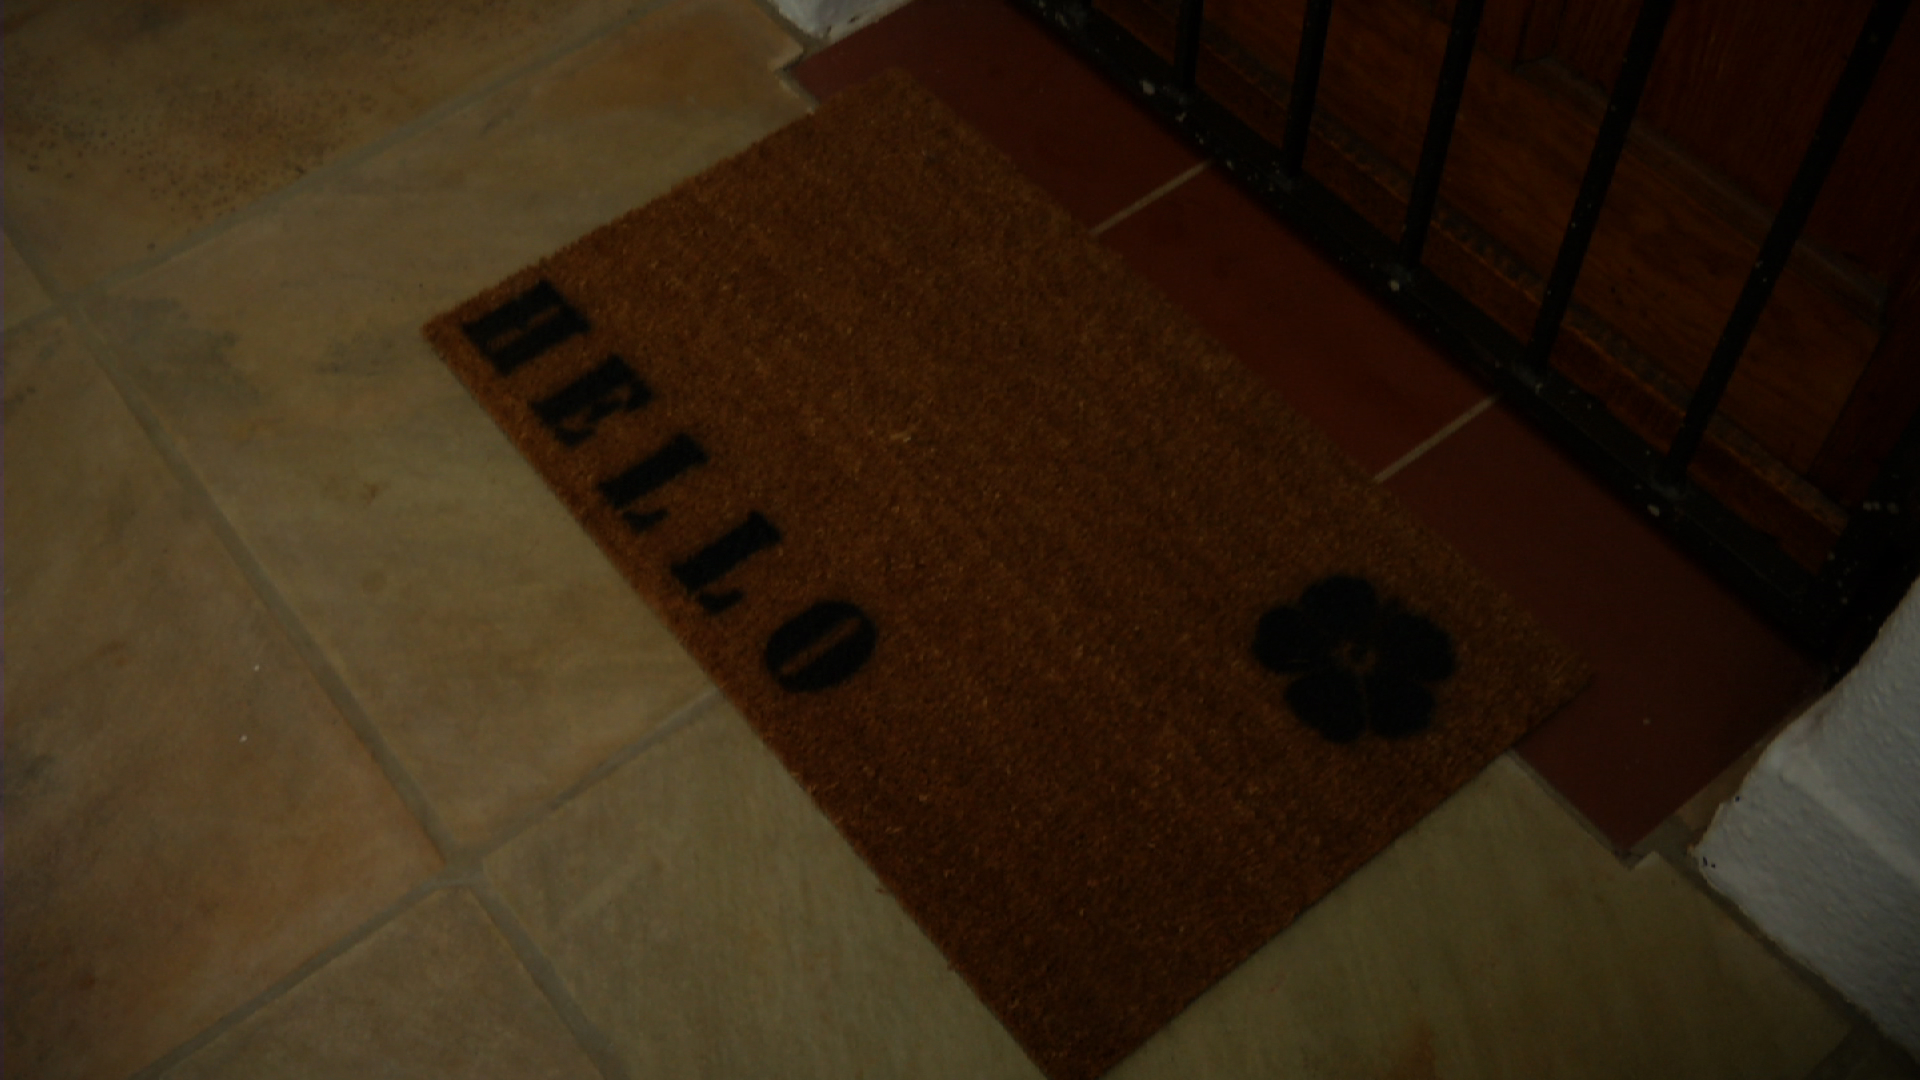
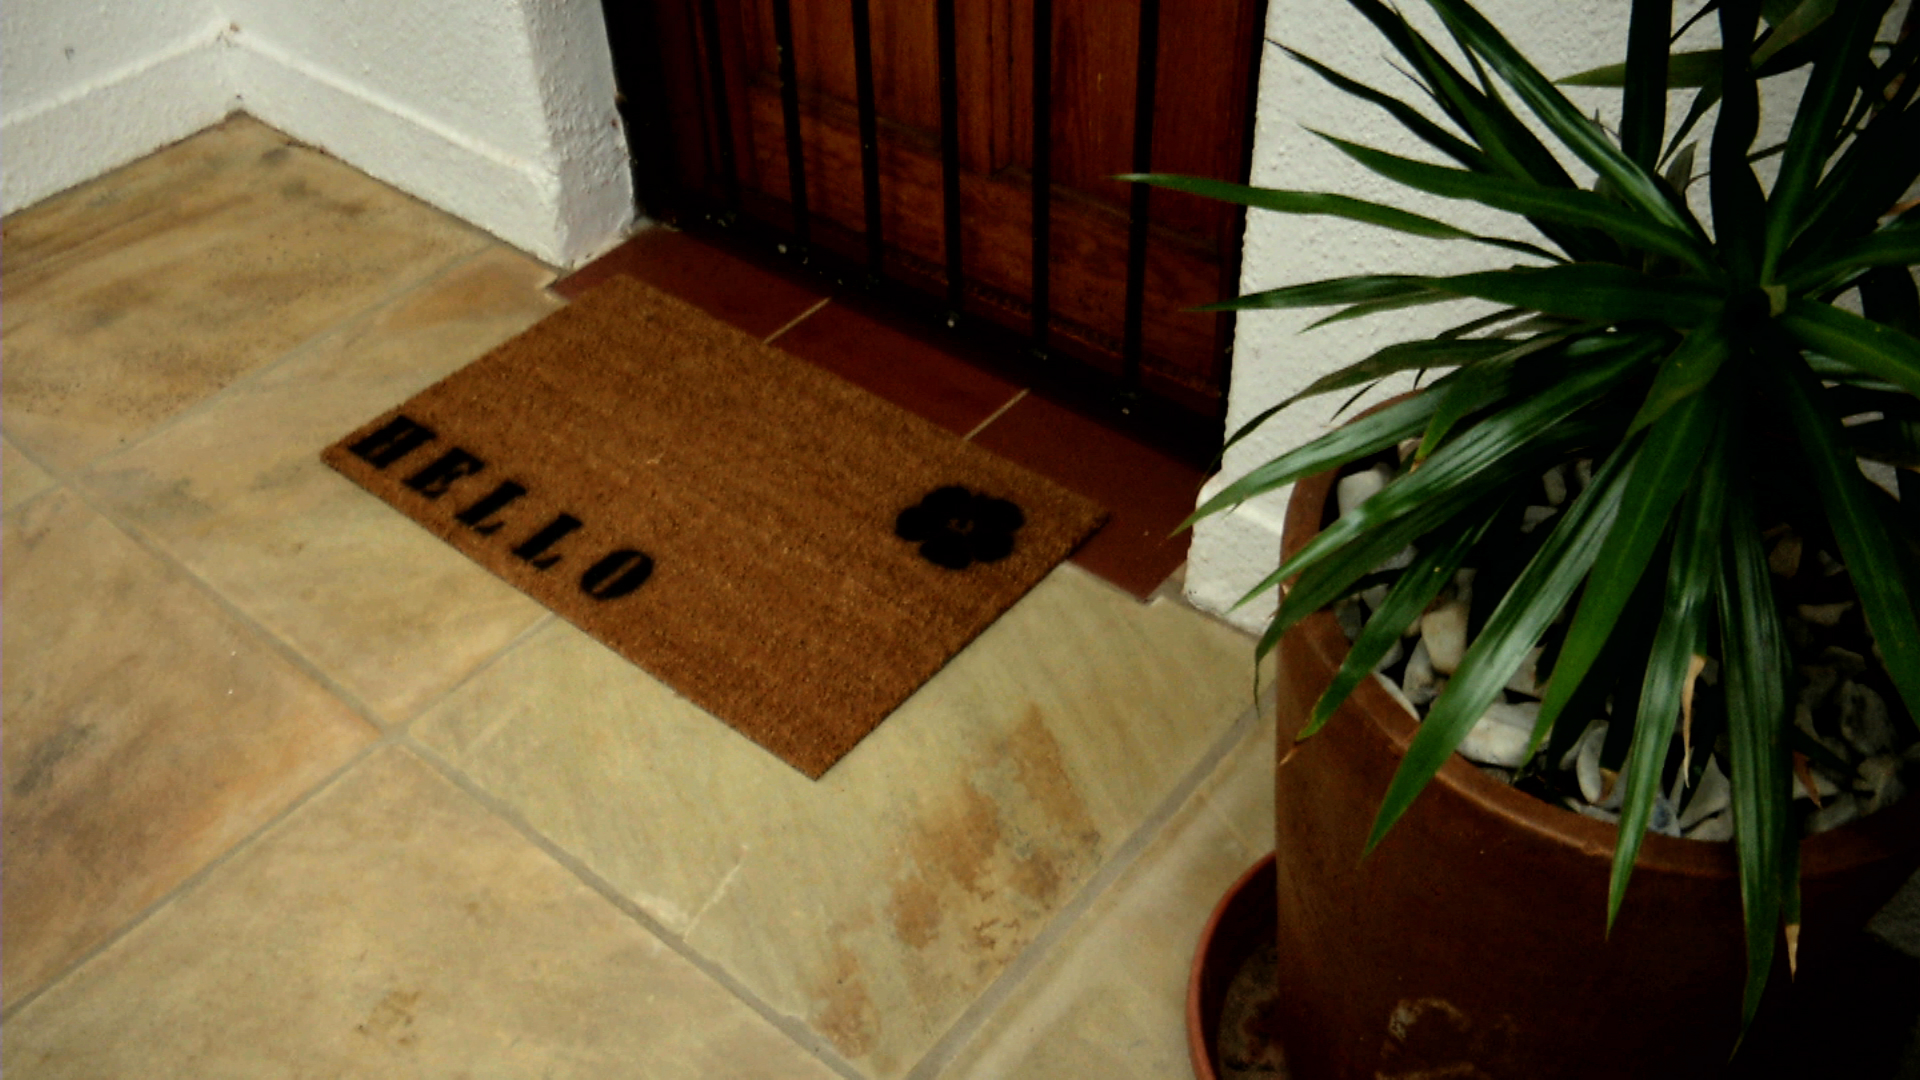
- Apply two coats of chalk paint to the exposed areas of the mat.
- Remove the newspaper, masking tape and stencils to reveal your new welcome mat!
Watch the video [1]
Helpful Hints:
Interesting things to plant between stepping blocks:
- Mondo Grass (“Kyoto Dwarf”)
- Herbs